
mood.camera

Double exposures require a different approach to composition, as you need to think about two frames and how they’ll interact. Unlike using a photo editor to blend images, you’re limited to the environment immediately around you, which might not always have exactly what you need. But, like most limitations, that can lead to more creative and unexpected photos.
To help you get started I’ve put together some inspiration on this page. If you’d like to learn about each individual blend mode, head over to the guide.
Add soft washes of light, colour and flare over your photos.
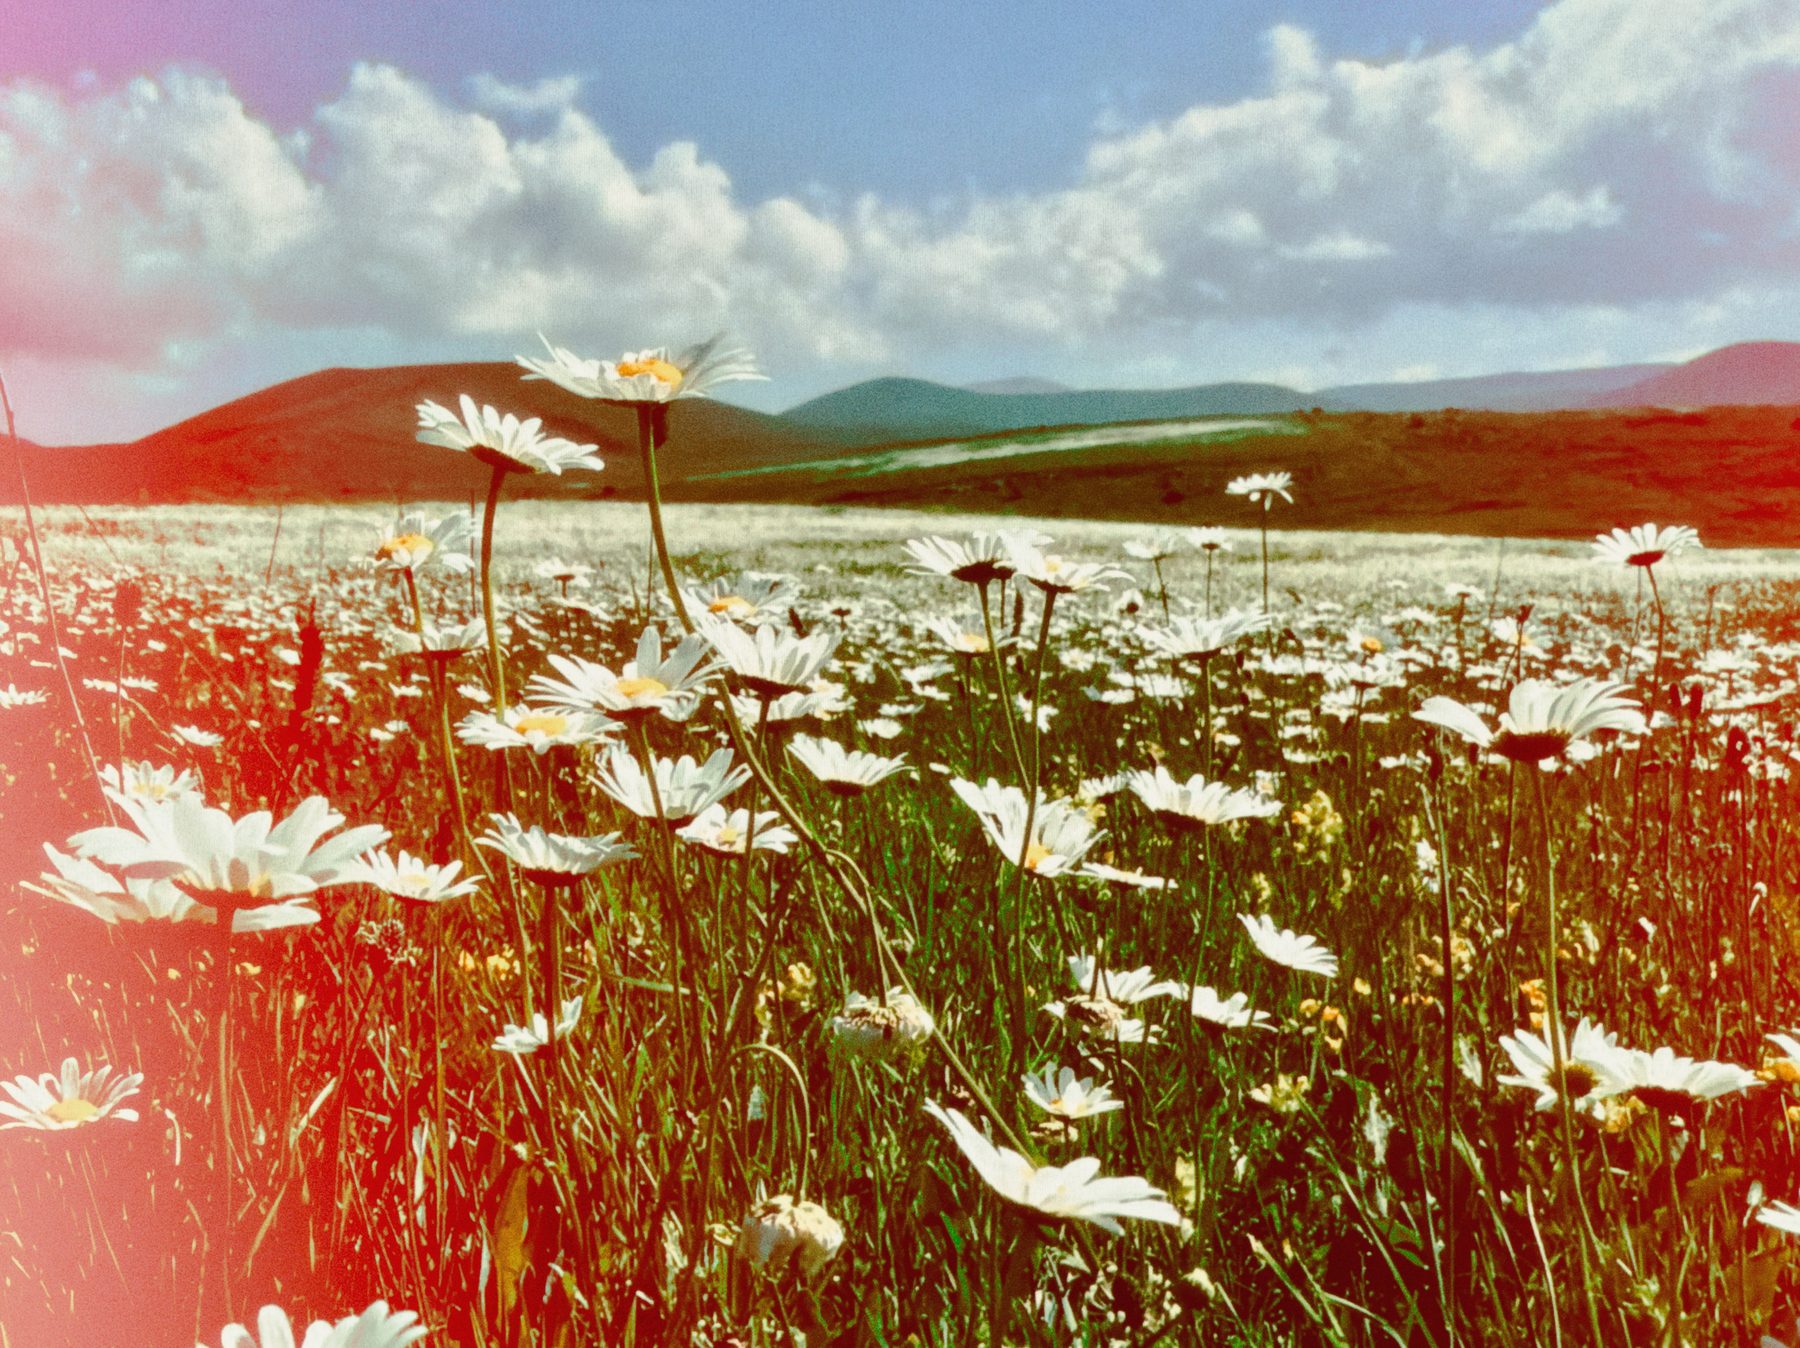
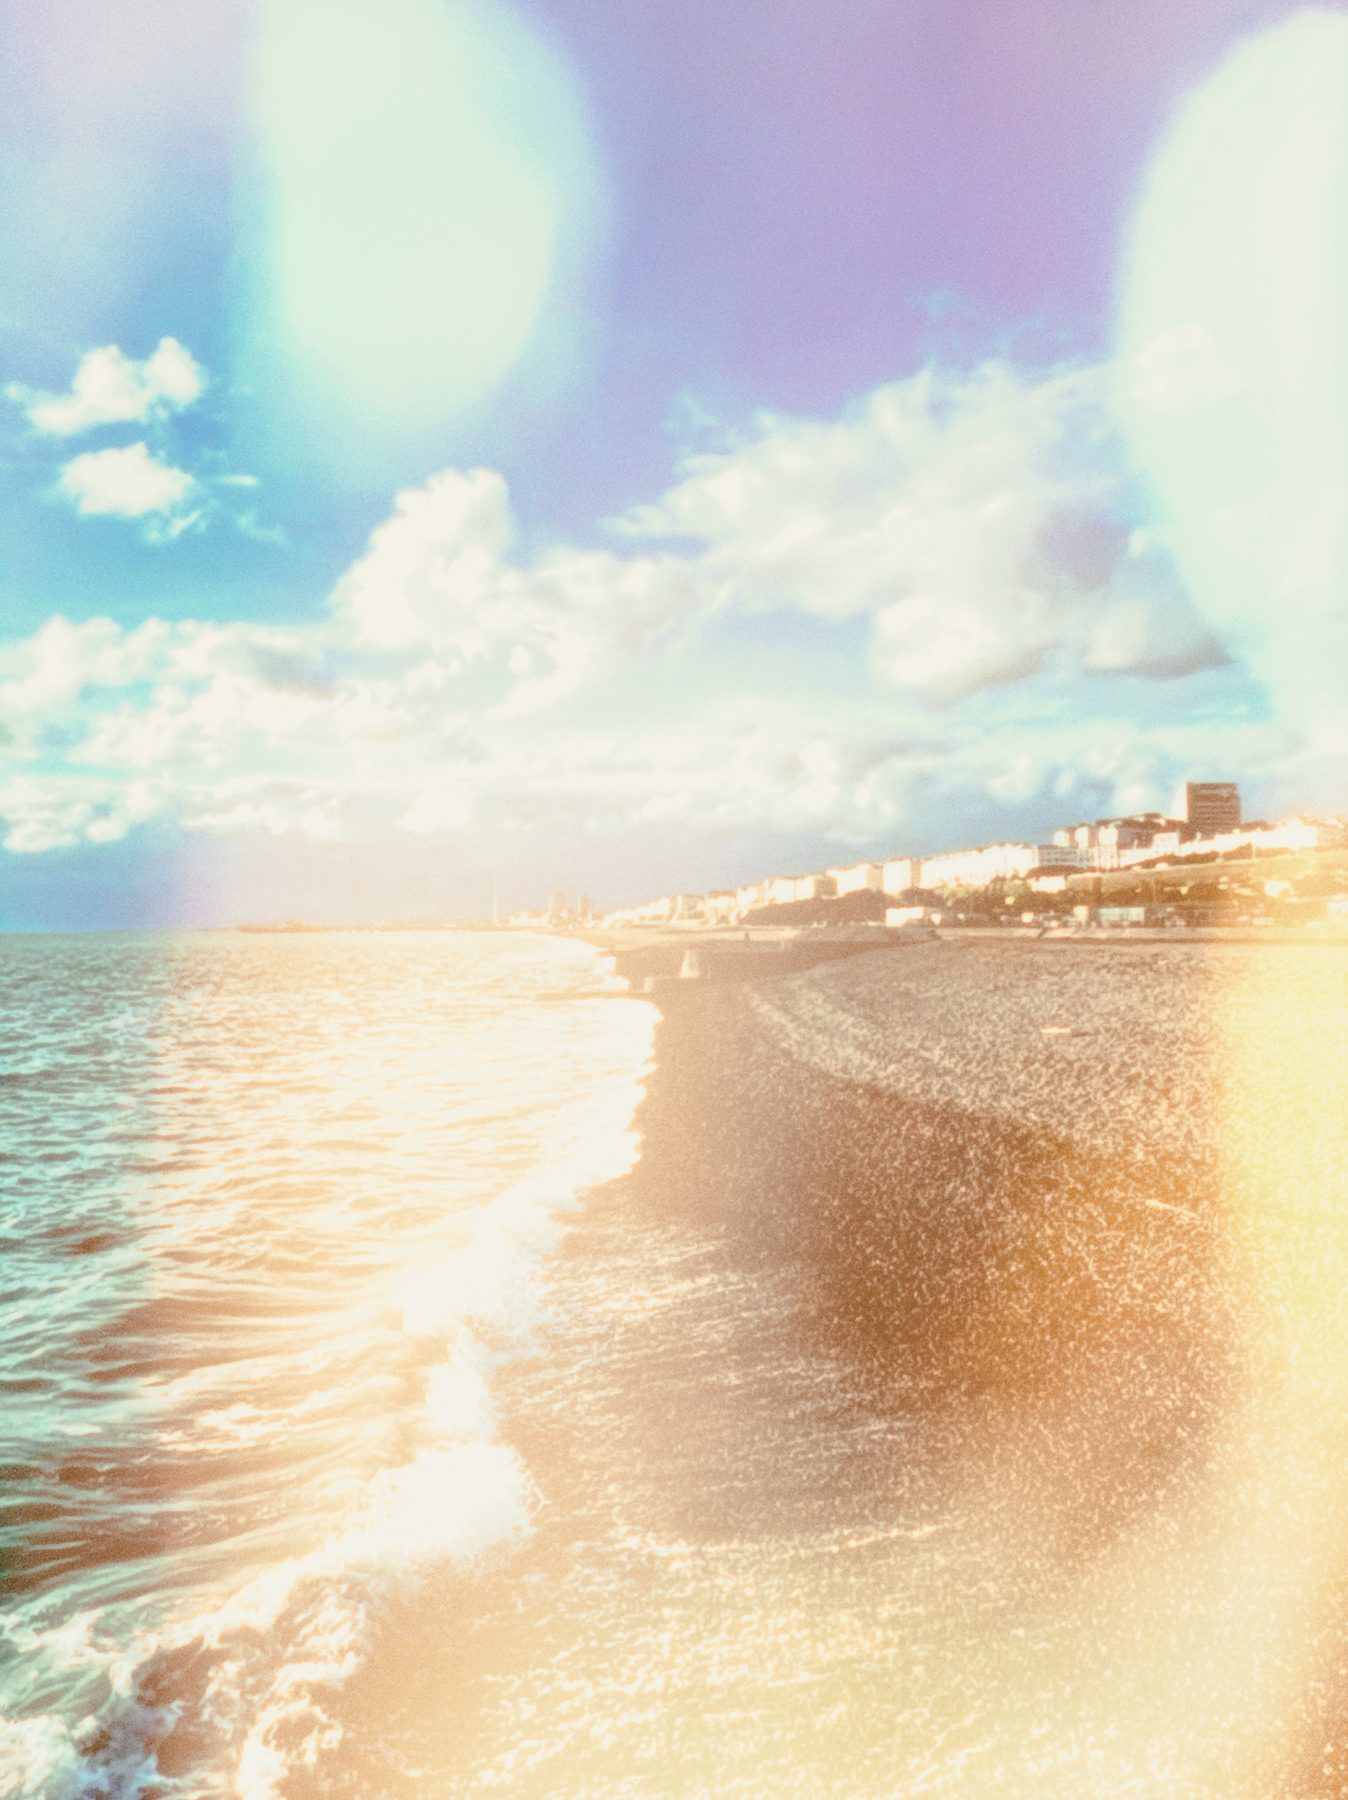
Mode: Additive or Lighten
Photo A: Take your main photo as normal.
Photo B: Get very close to a reflective or translucent object so it falls out of focus. Glass, metal and other shiny surfaces work especially well, creating soft shapes, flare and unexpected reflections.
If your shots are coming out too bright when using Additive mode, try reducing the exposure of each photo.
Add streaks of movement and light to a scene. This works particularly well with streets, gigs and other low-light scenes.
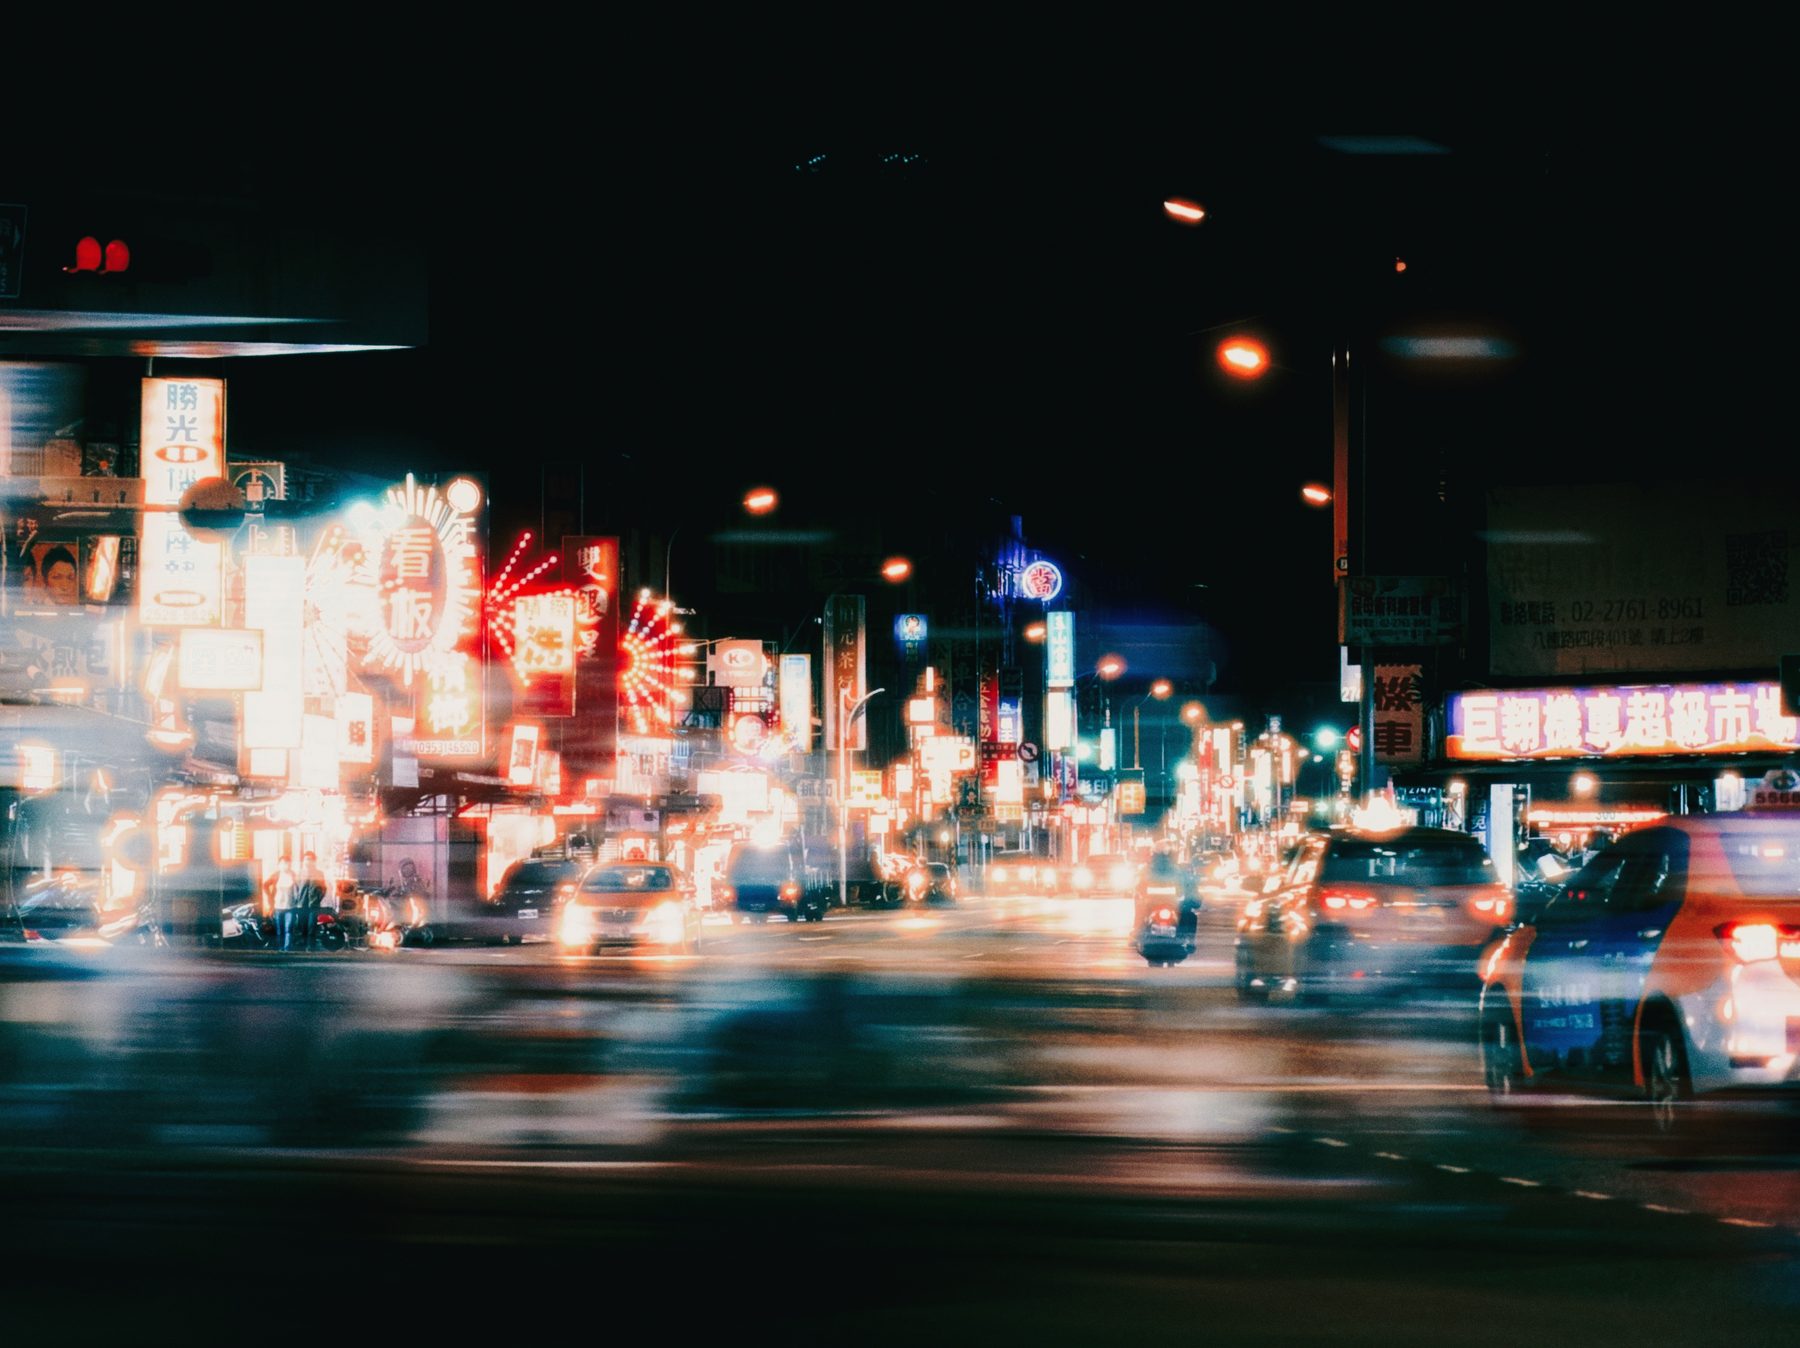
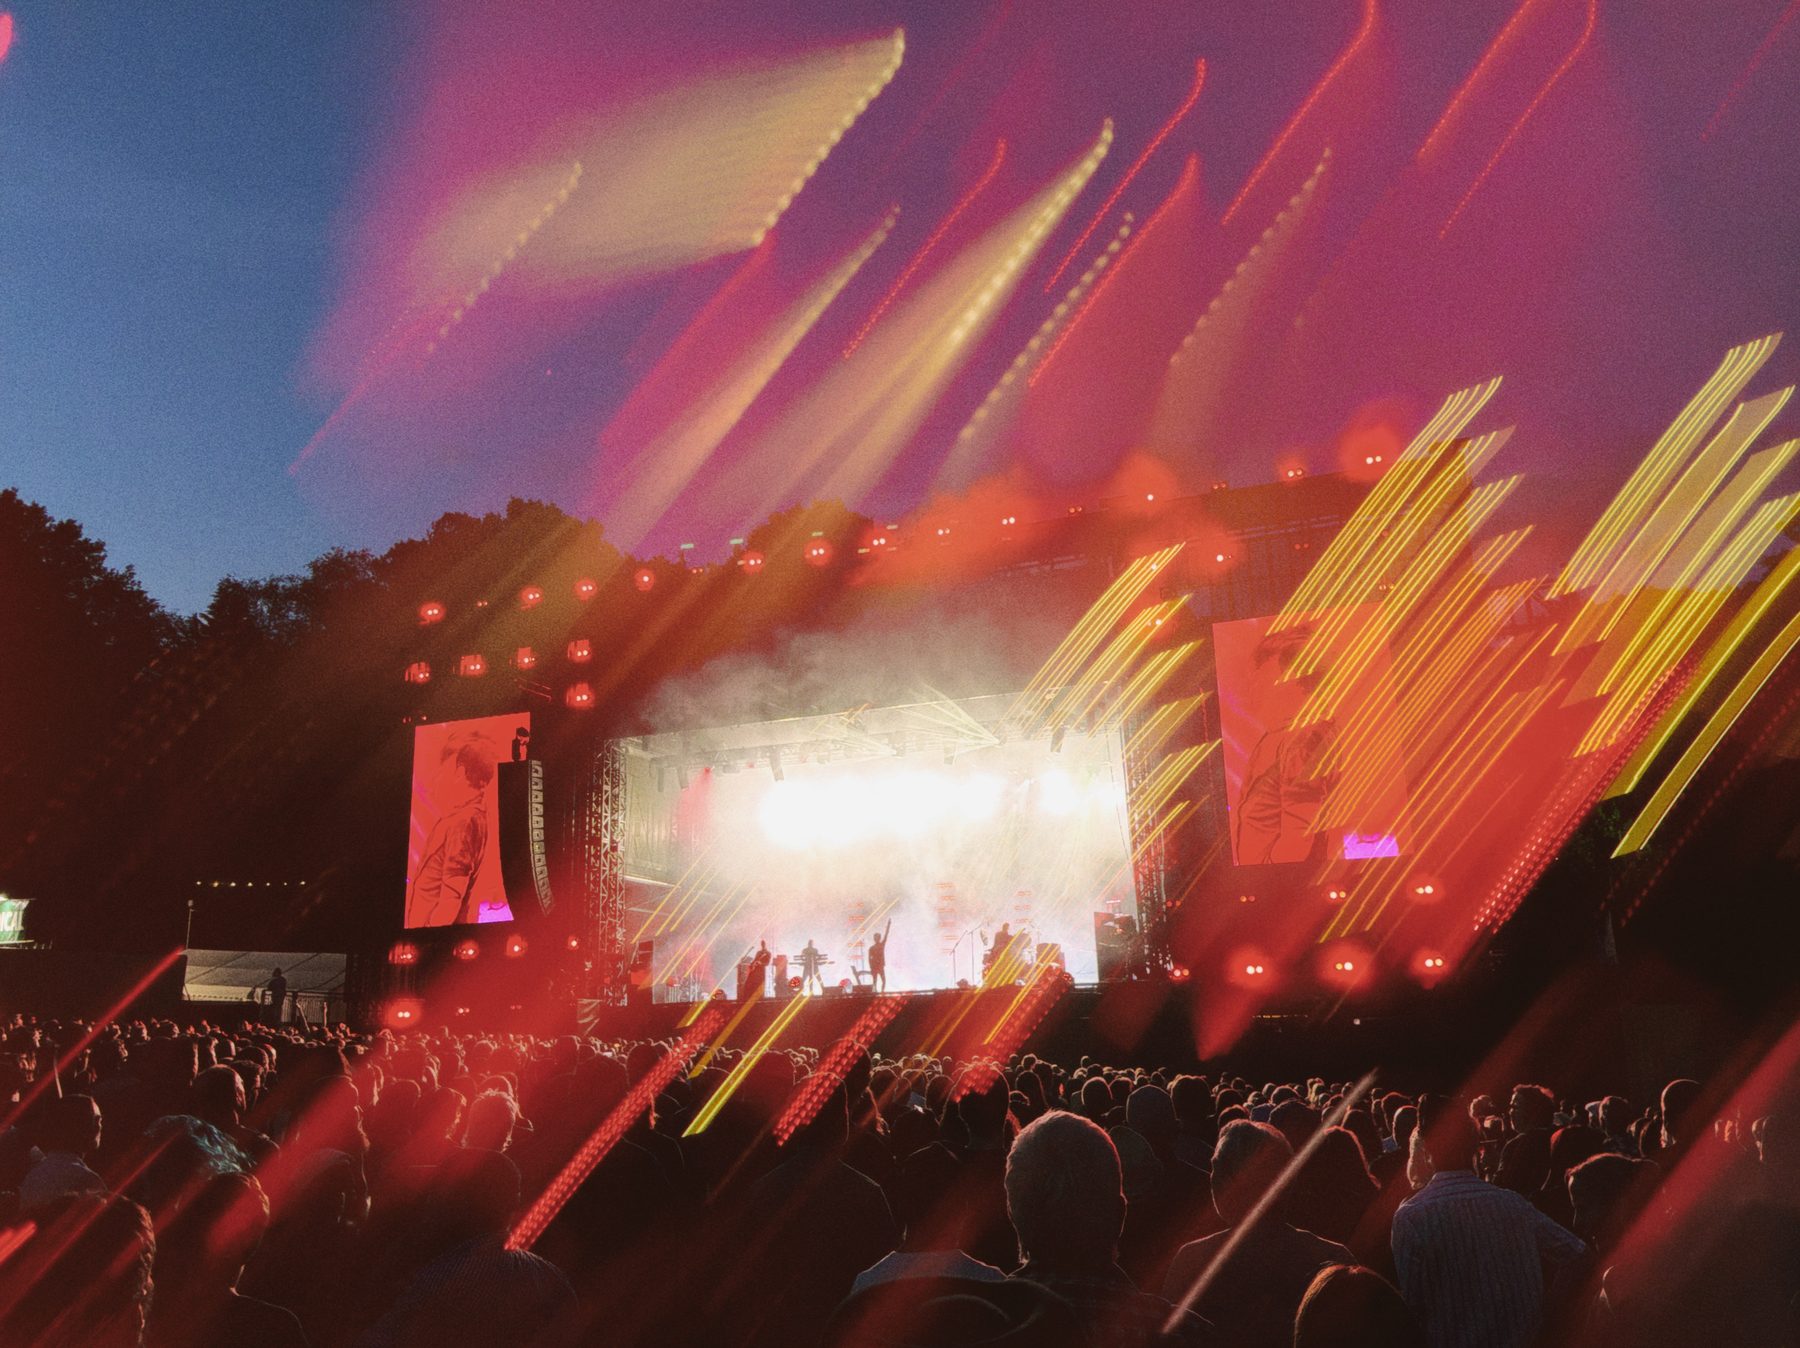
Mode: Additive or Lighten
Photo A: Take your main photo as normal.
Photo B: Move your iPhone as you take the second photo. Try dragging it sideways or vertically, rotating it, or making a small circular movement.
A telephoto lens magnifies small movements, making longer and more exaggerated trails easier to create.
Use the dark areas of a silhouette as a space for another image.
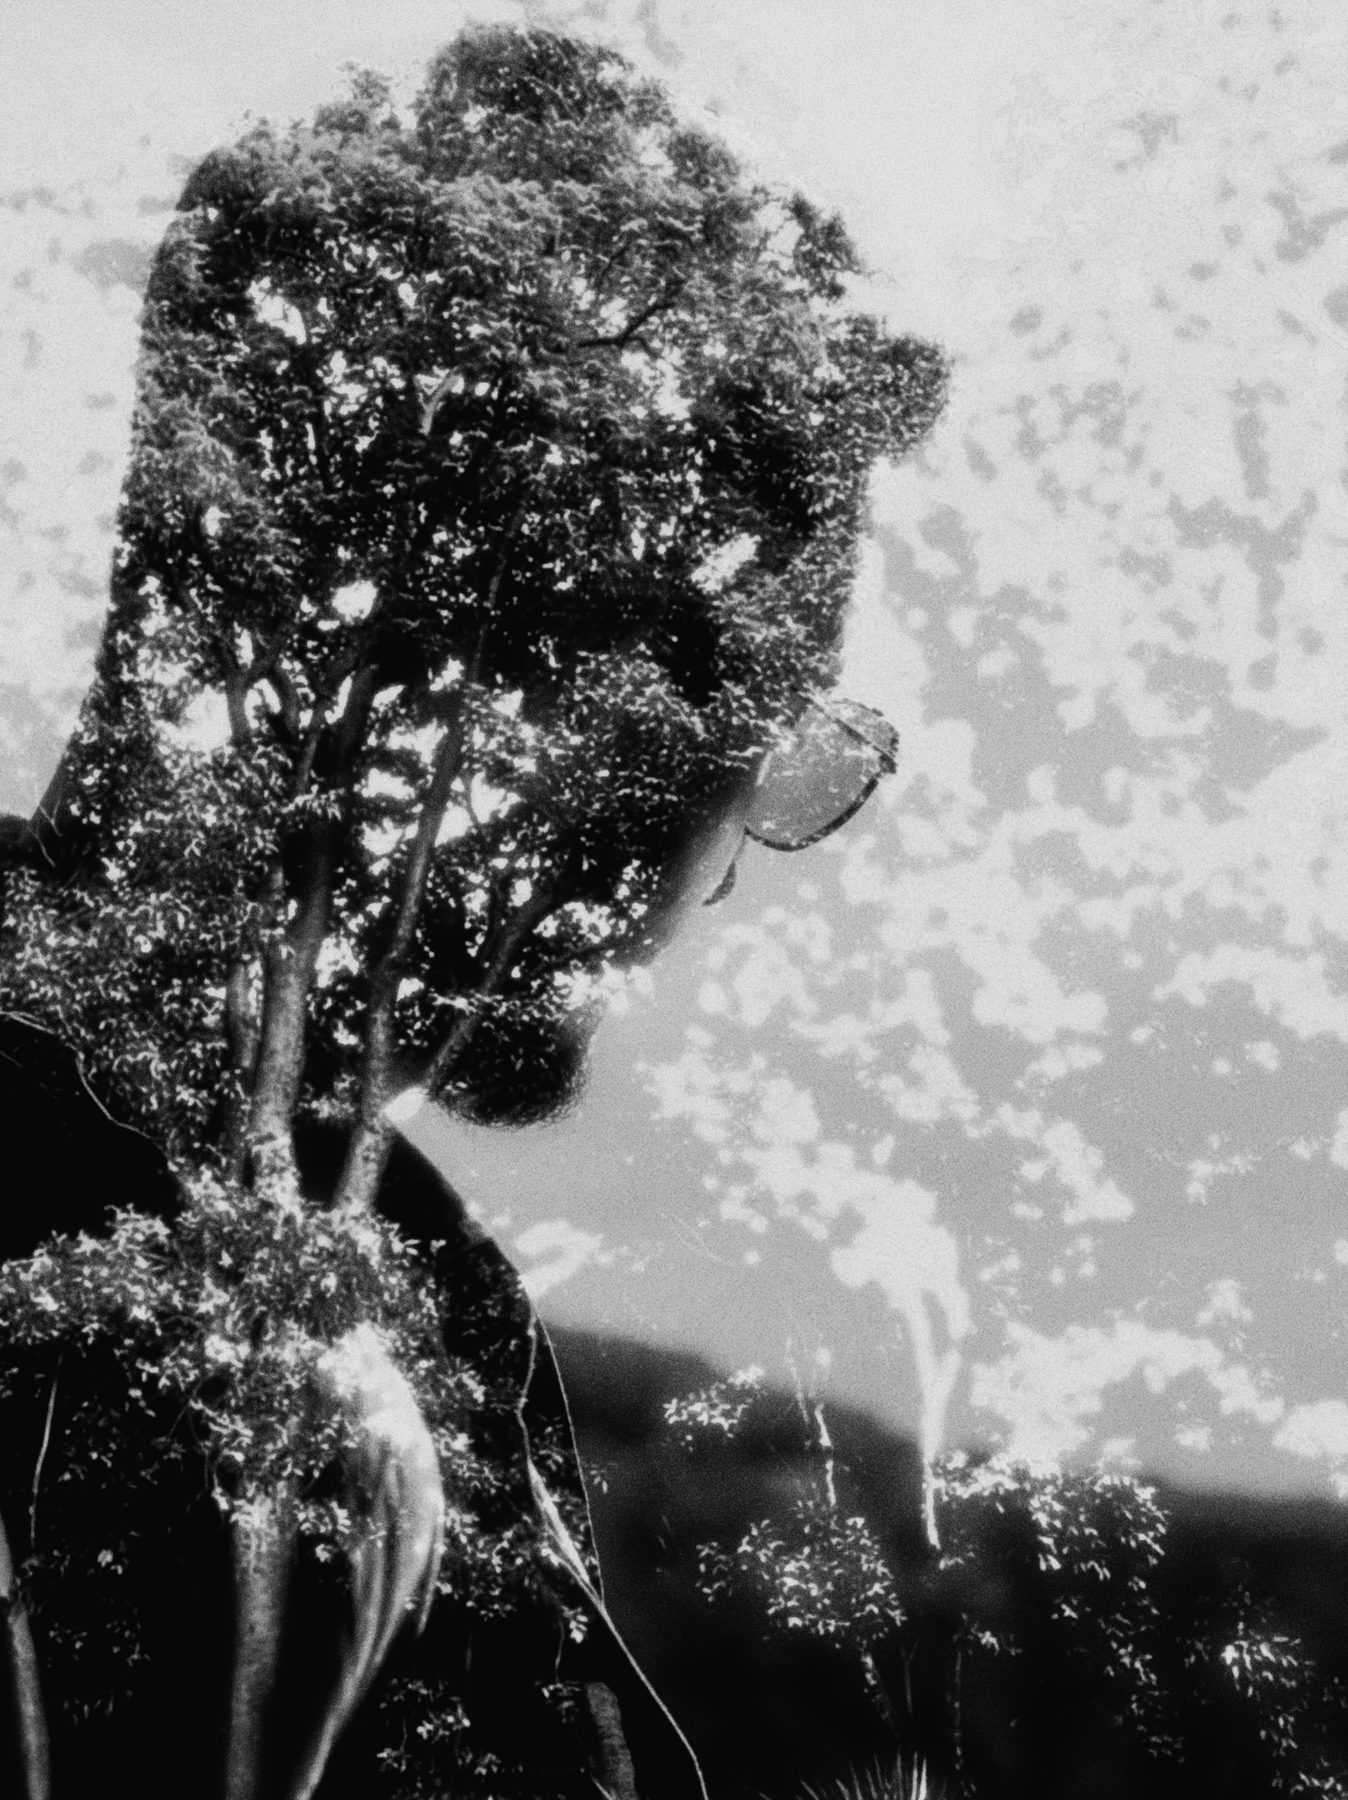
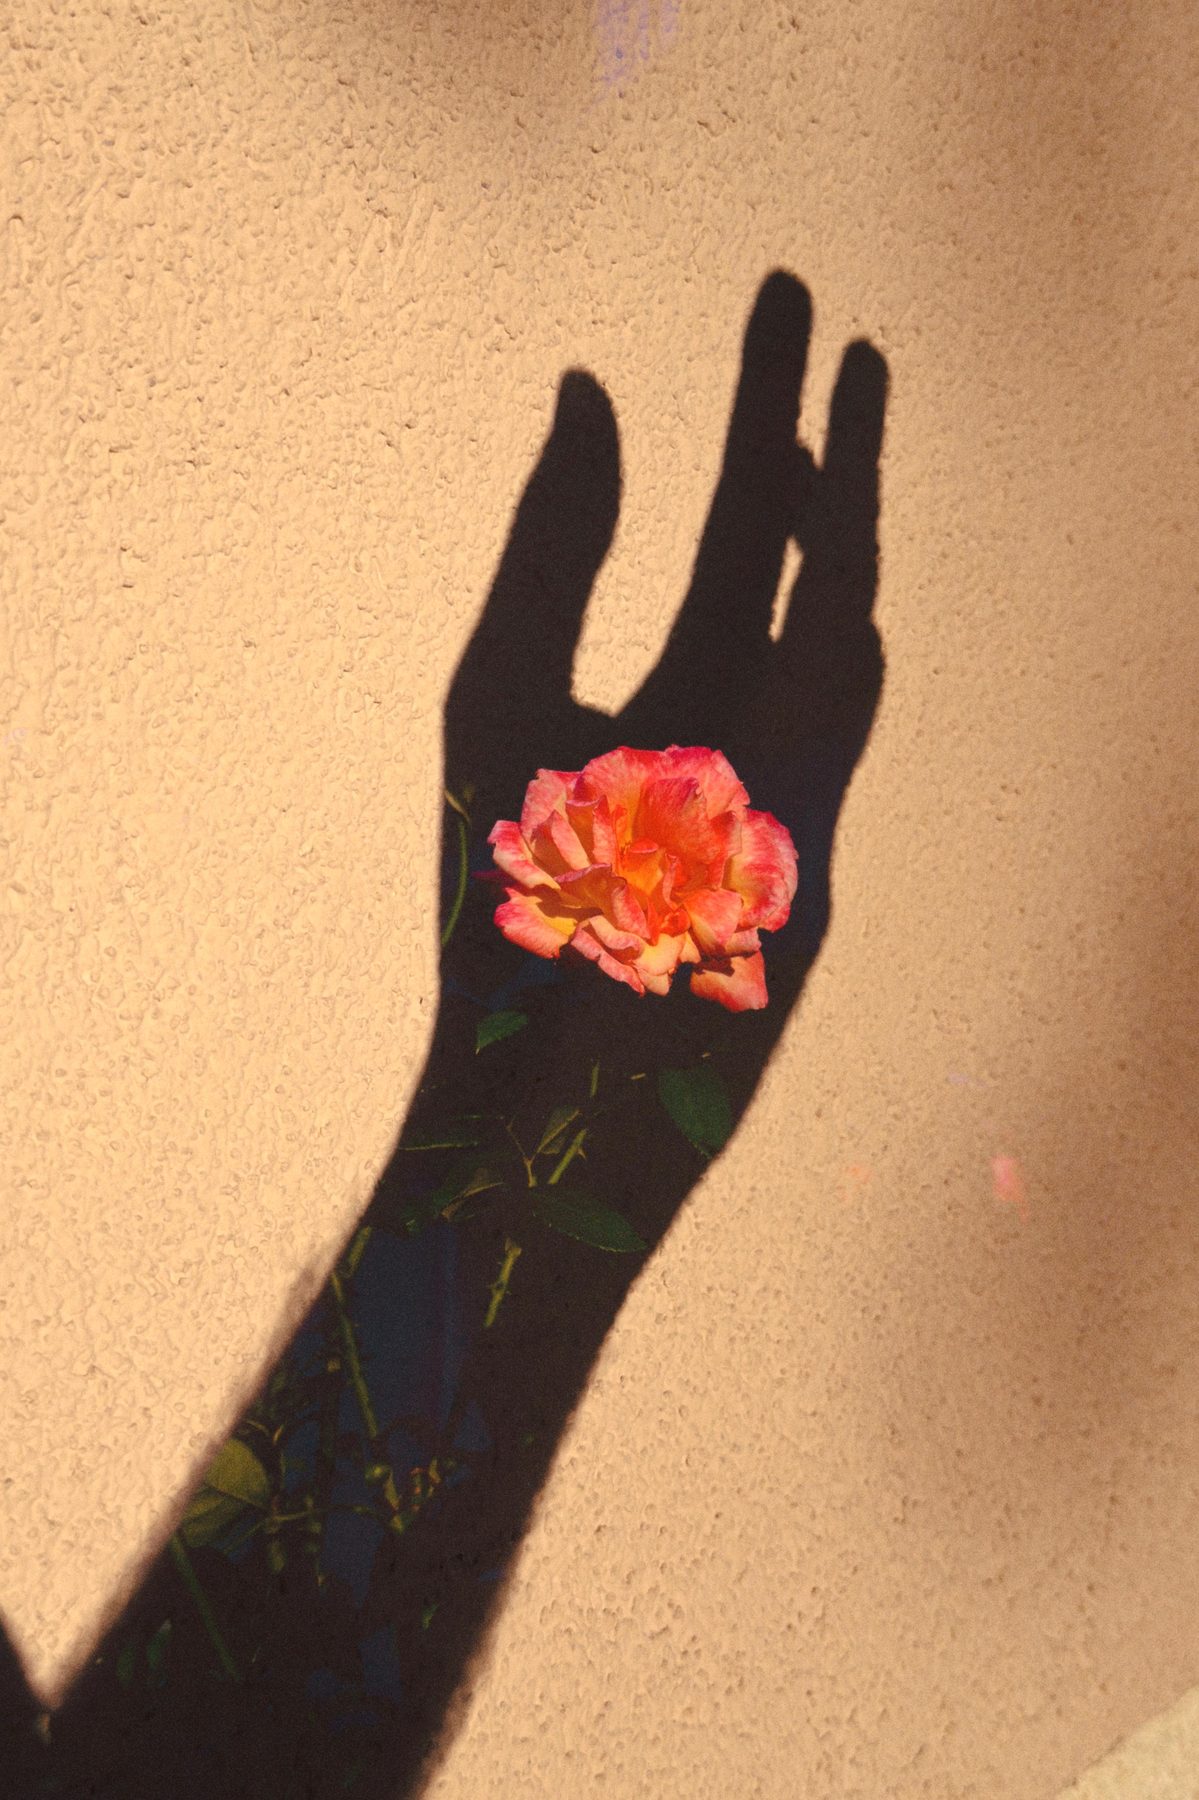
Mode: Additive or Lighten
Photo A: Photograph a person or object against a bright background, exposing for the background so the subject becomes a strong silhouette.
Photo B: Photograph a texture, landscape, pattern or another subject. The second image will appear most strongly inside the darker parts of the first.
Simple, recognisable silhouettes work best. Try people, trees, windows, statues or buildings against a bright sky.
Turn everyday scenes into otherworldly, symmetrical compositions.
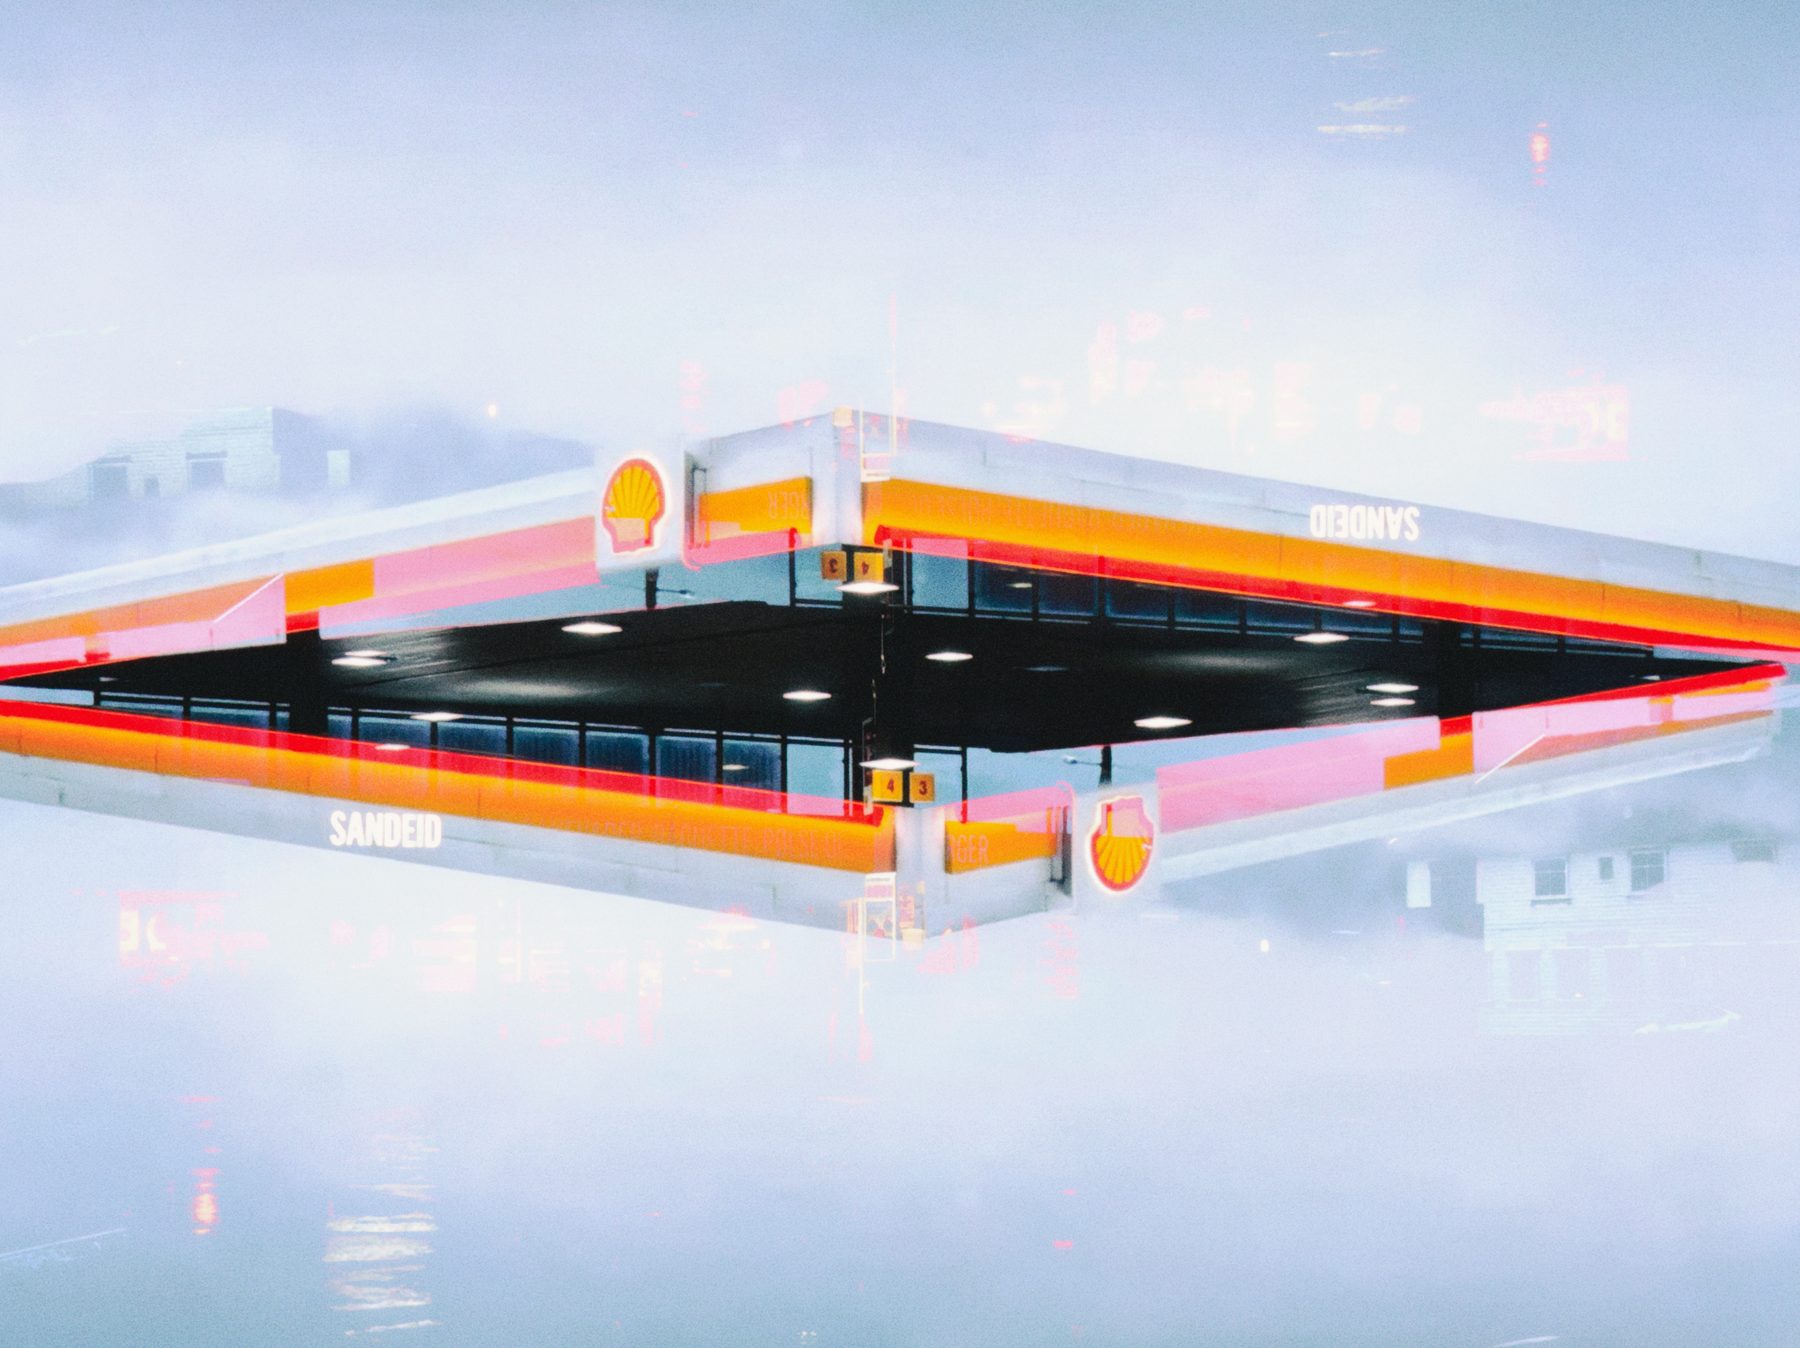
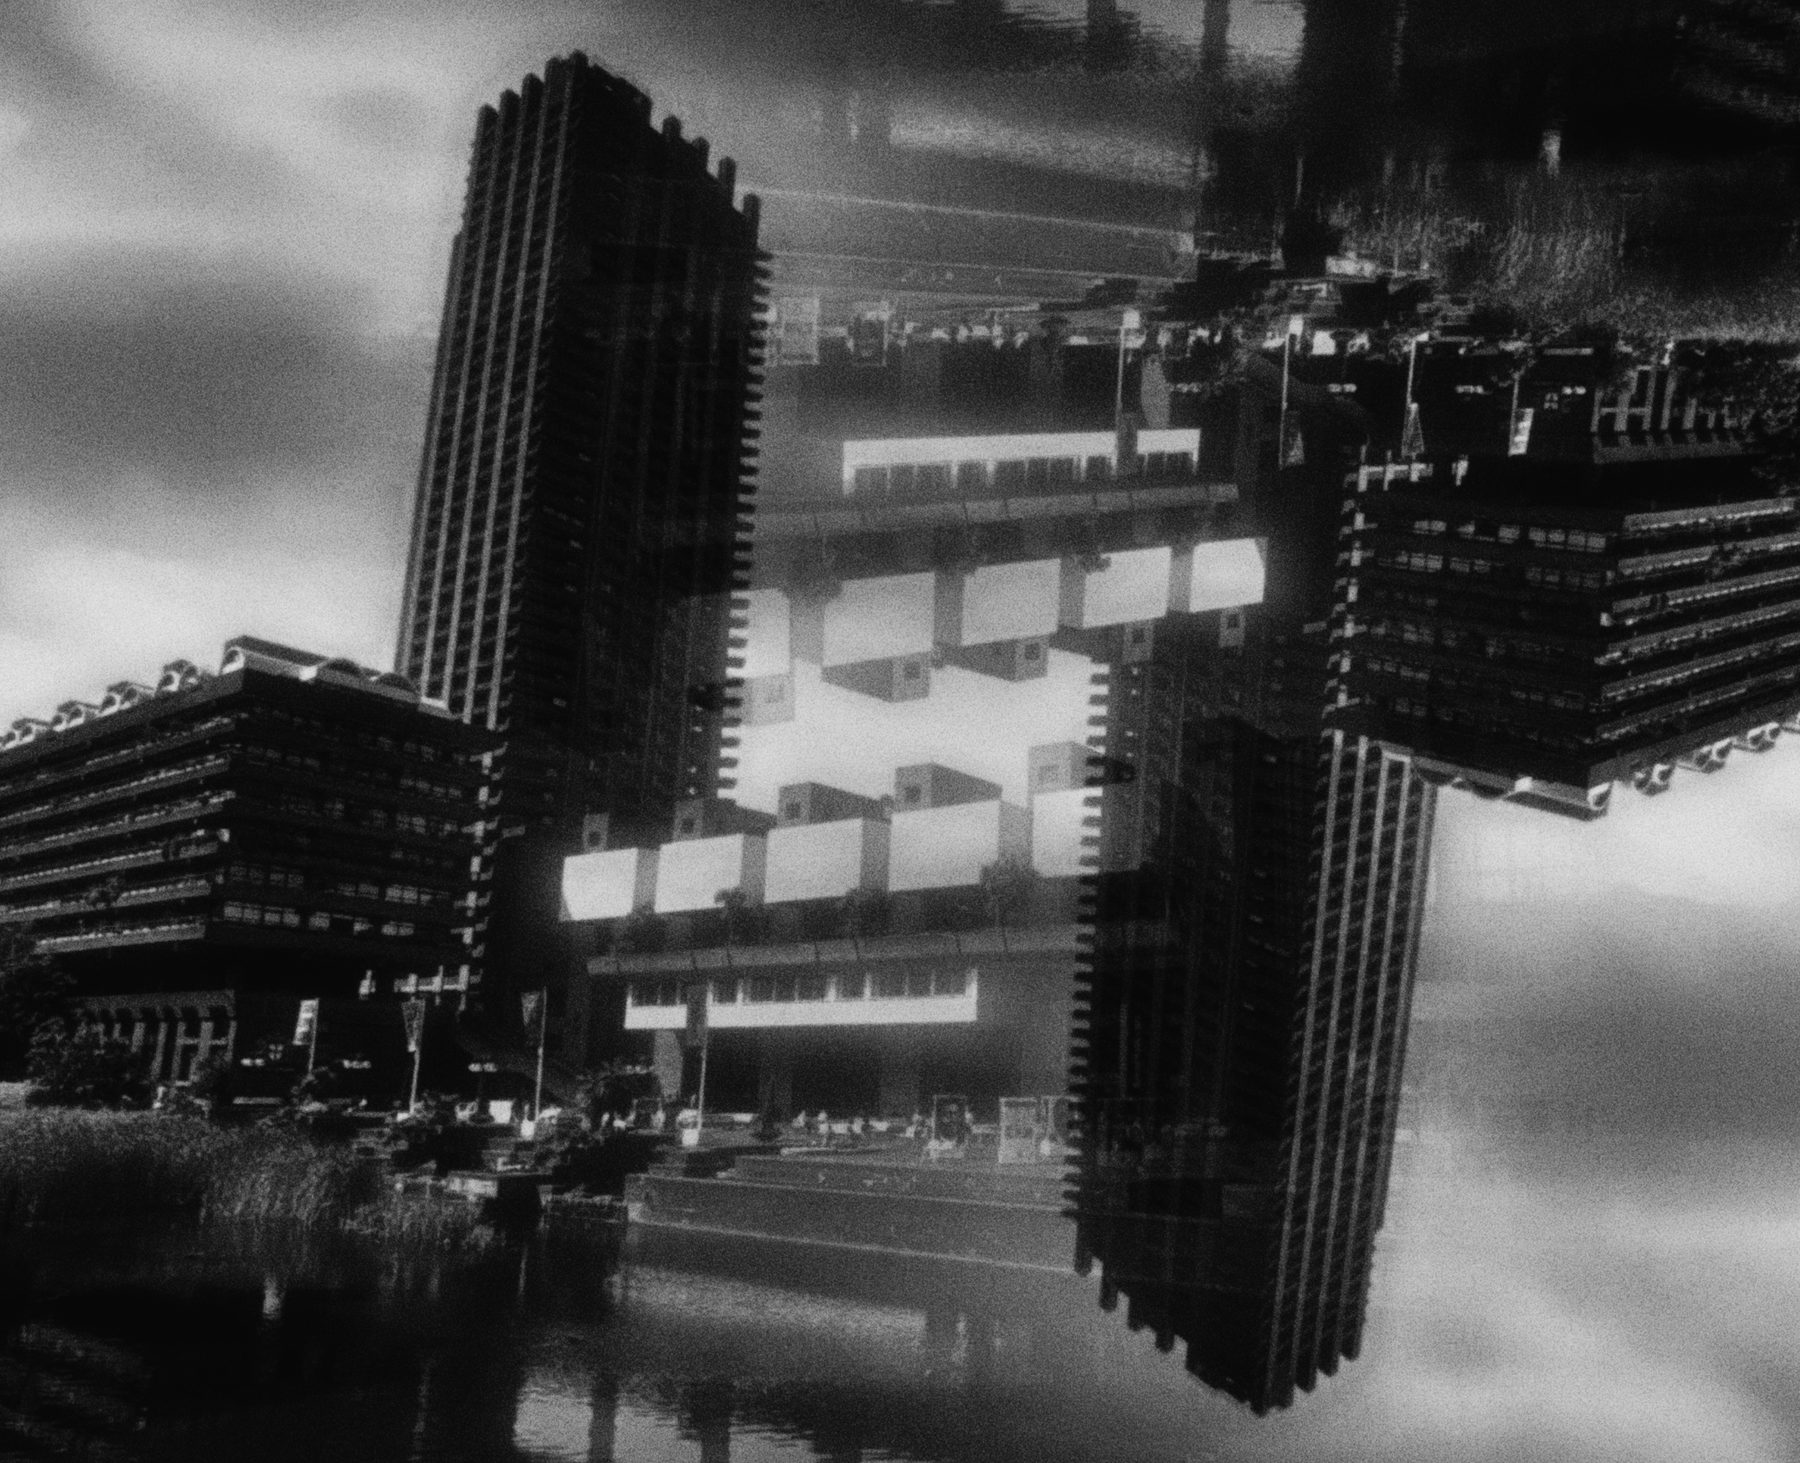
Mode: Gradient
Photo A: Centre your subject in the frame.
Photo B: Rotate or flip your iPhone, then photograph the same subject again, keeping it centred.
Gradient mode has an additional control that lets you rotate the direction of the transition between Photo A and Photo B.
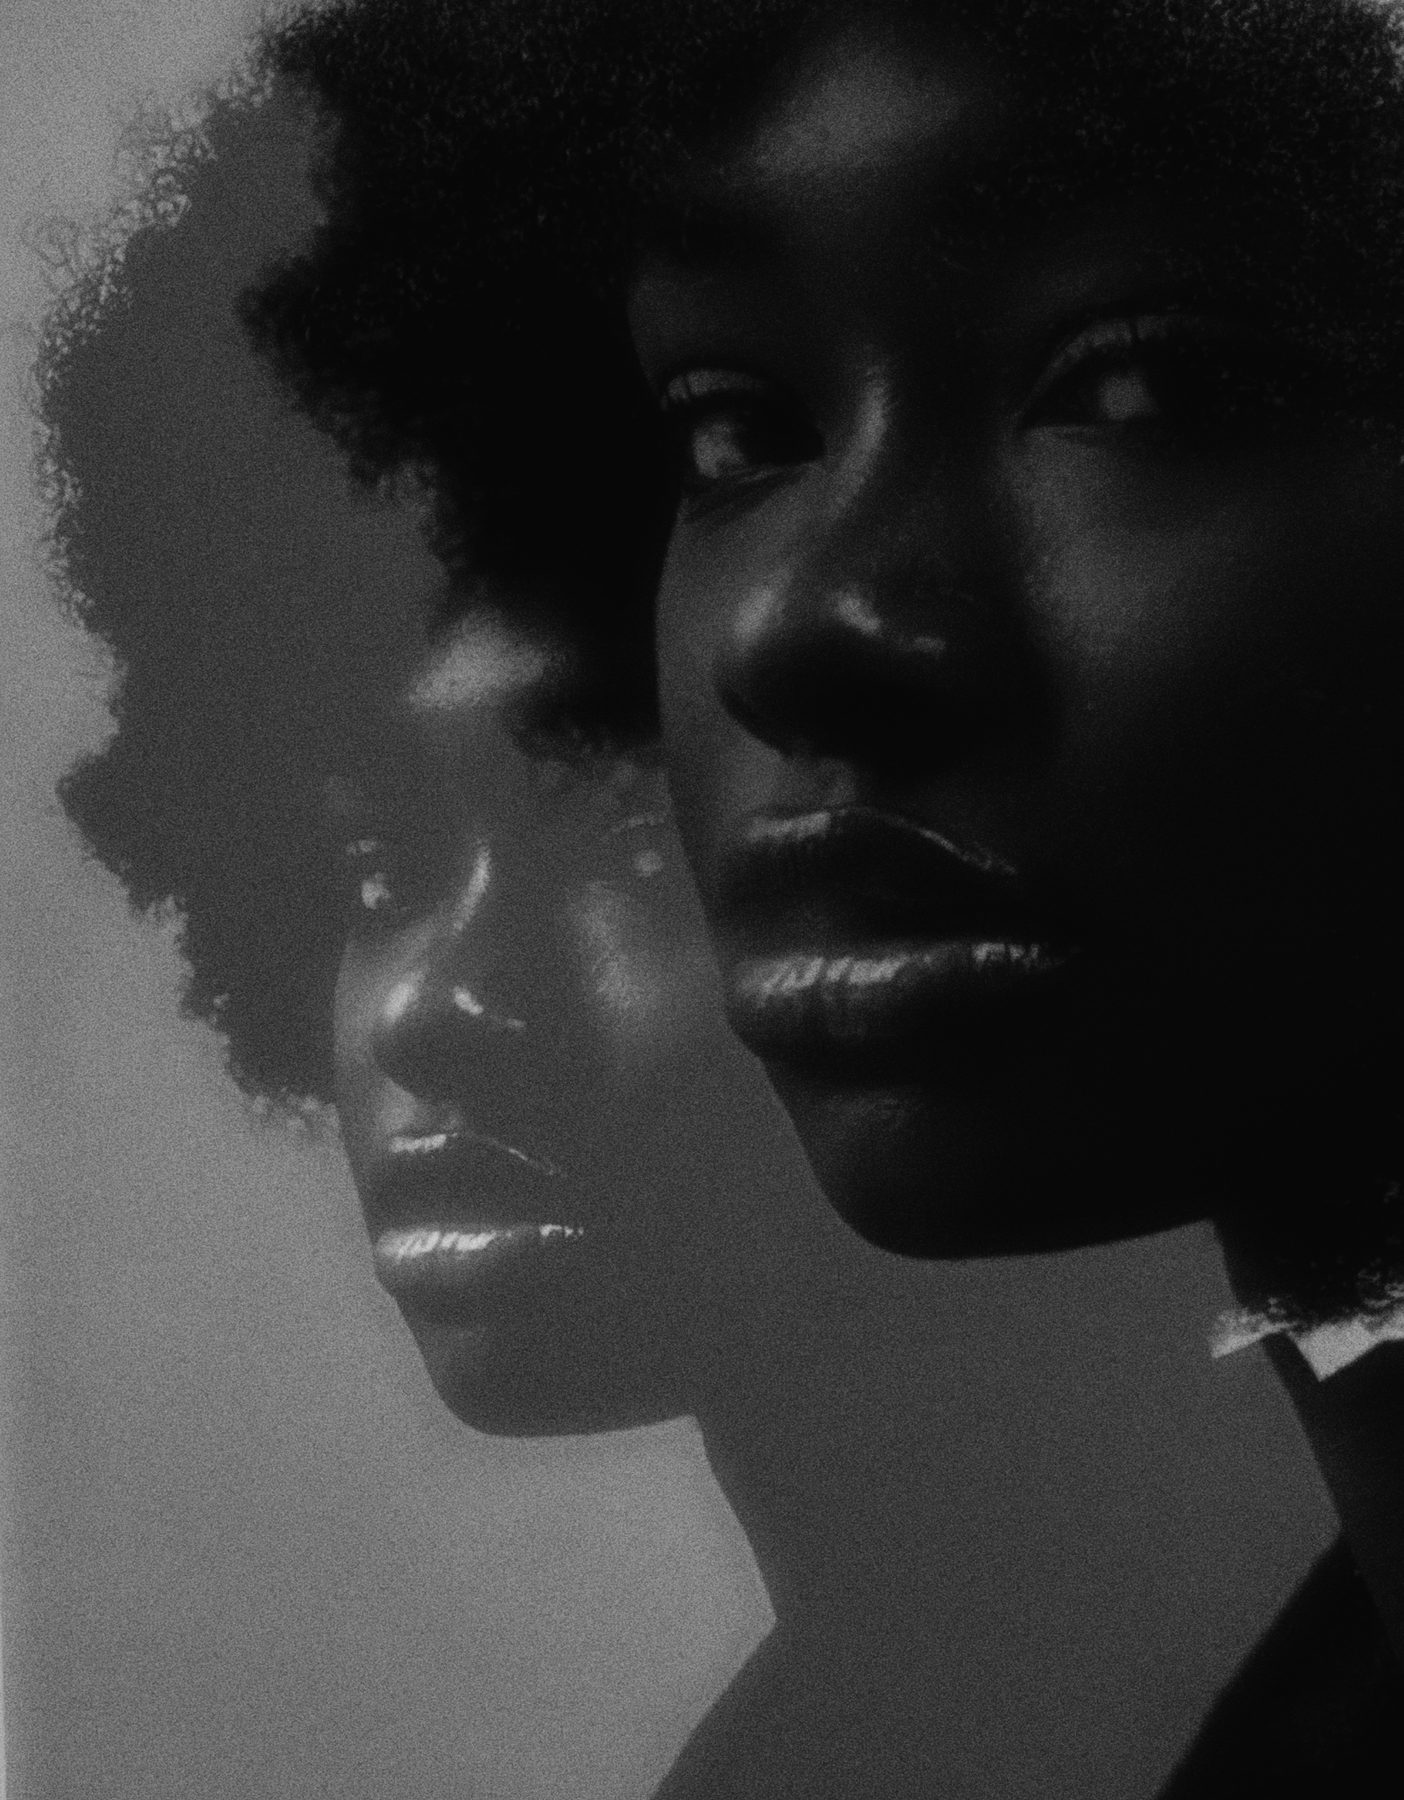
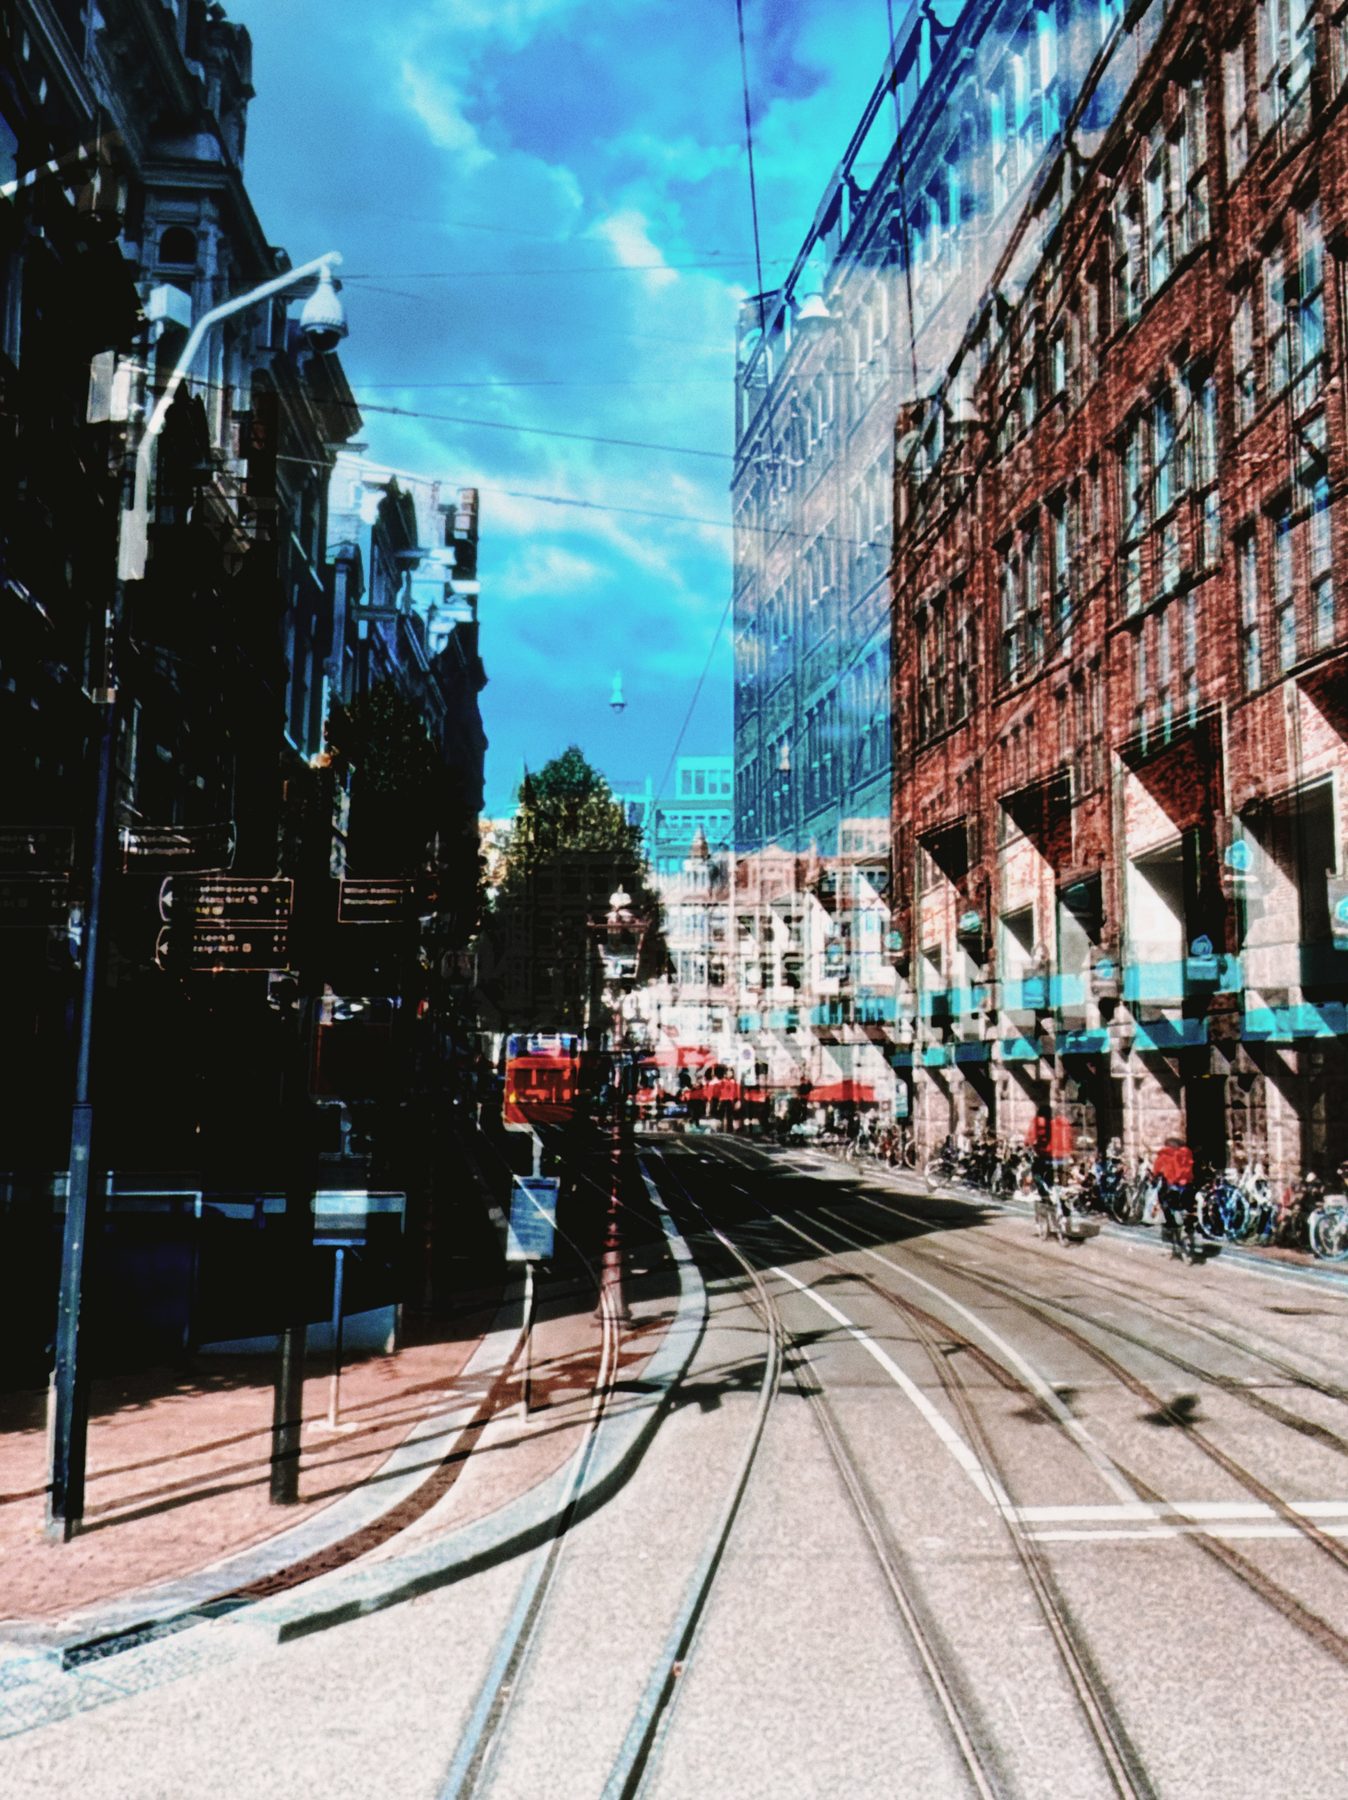
Create a ghostly, slightly offset copy of your subject.
Mode: Average, Multiply or Vivid
Photo A: Take your first photo as normal.
Photo B: Take almost the same photo again, shifting the camera or subject slightly between shots. For a more exaggerated effect, try moving closer or switching lenses.
Small movements create a ghostly effect. Larger movements make the two exposures feel more obviously separate.
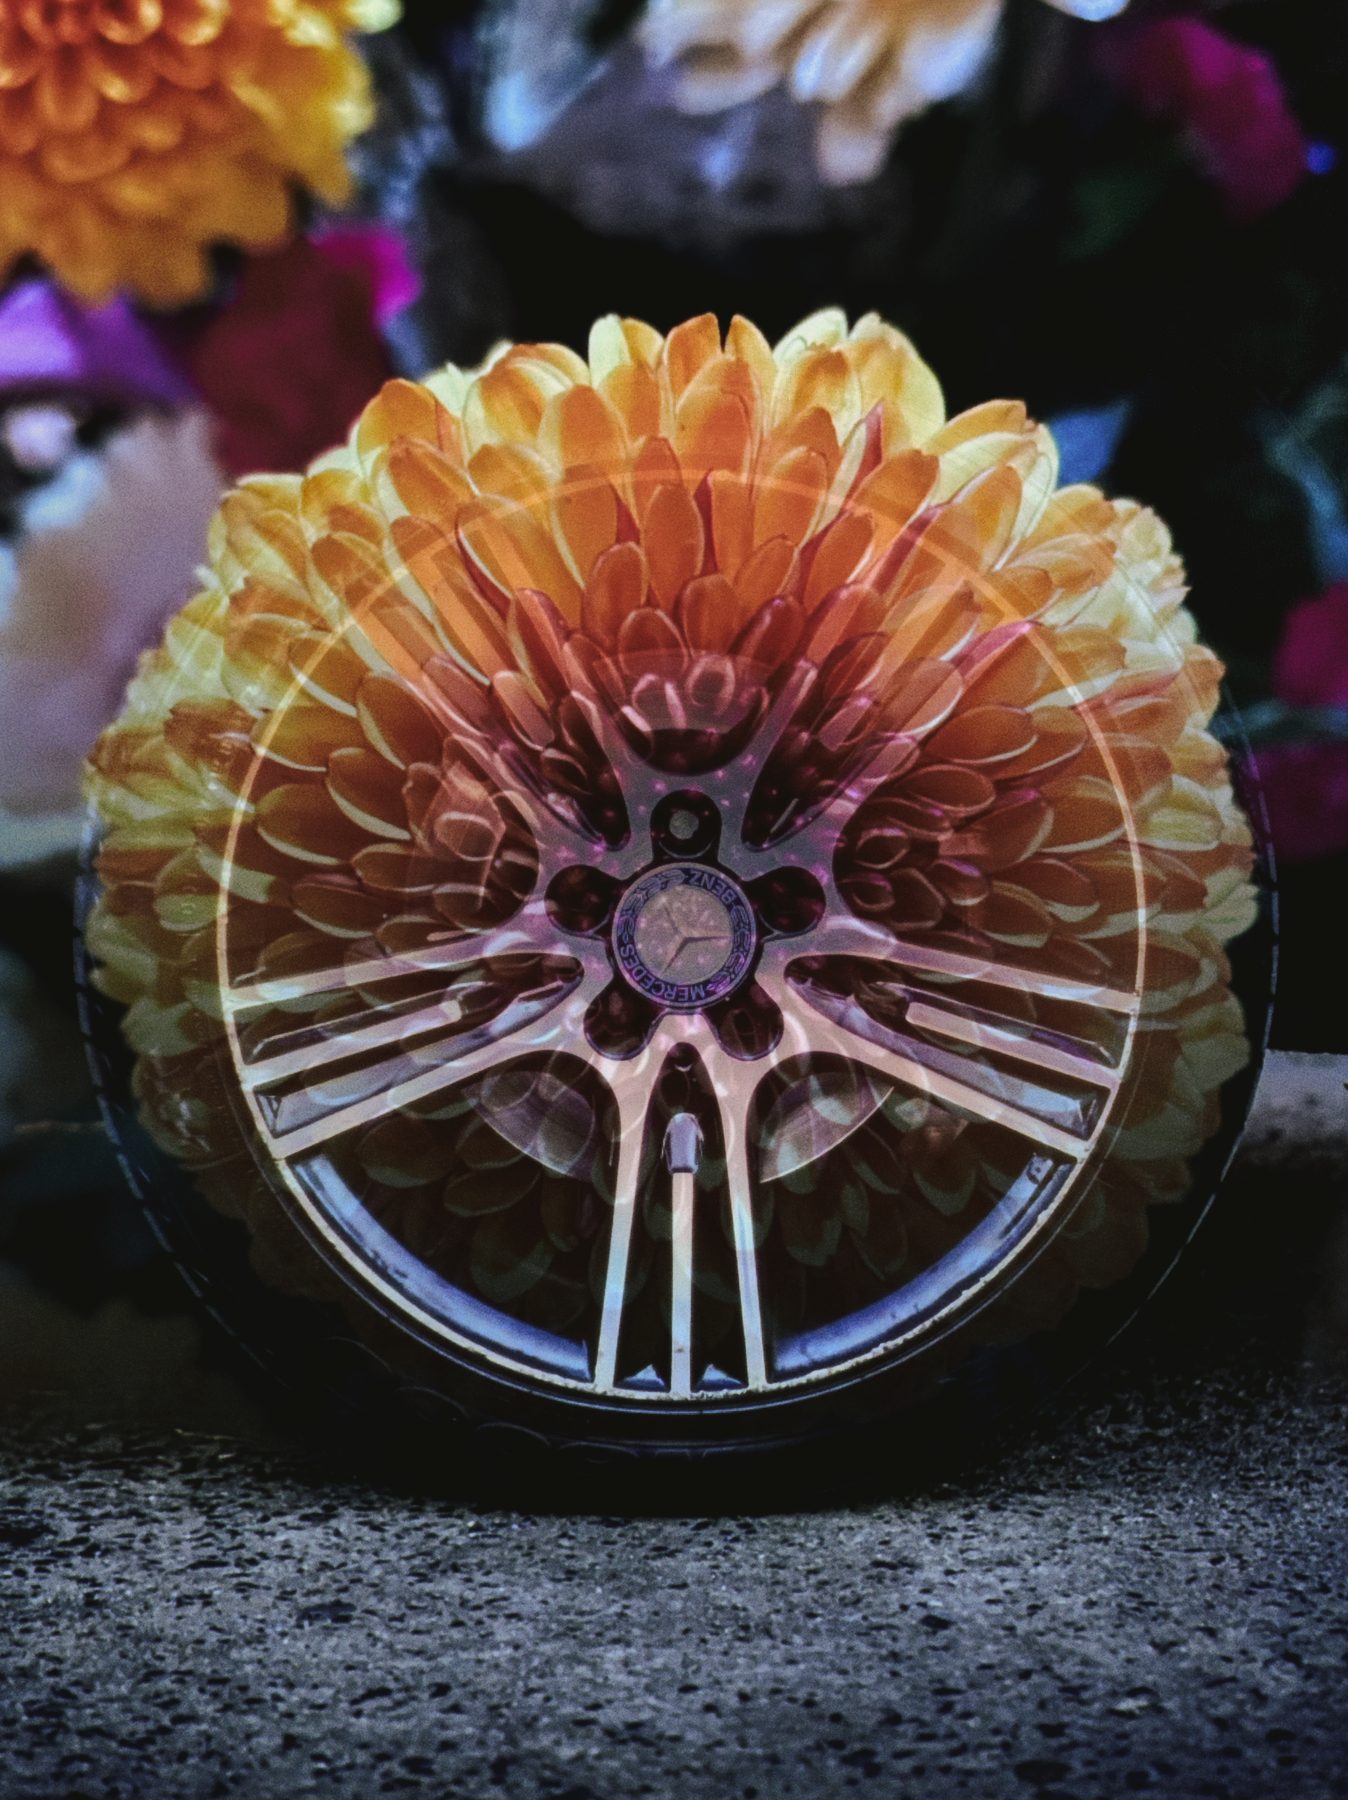
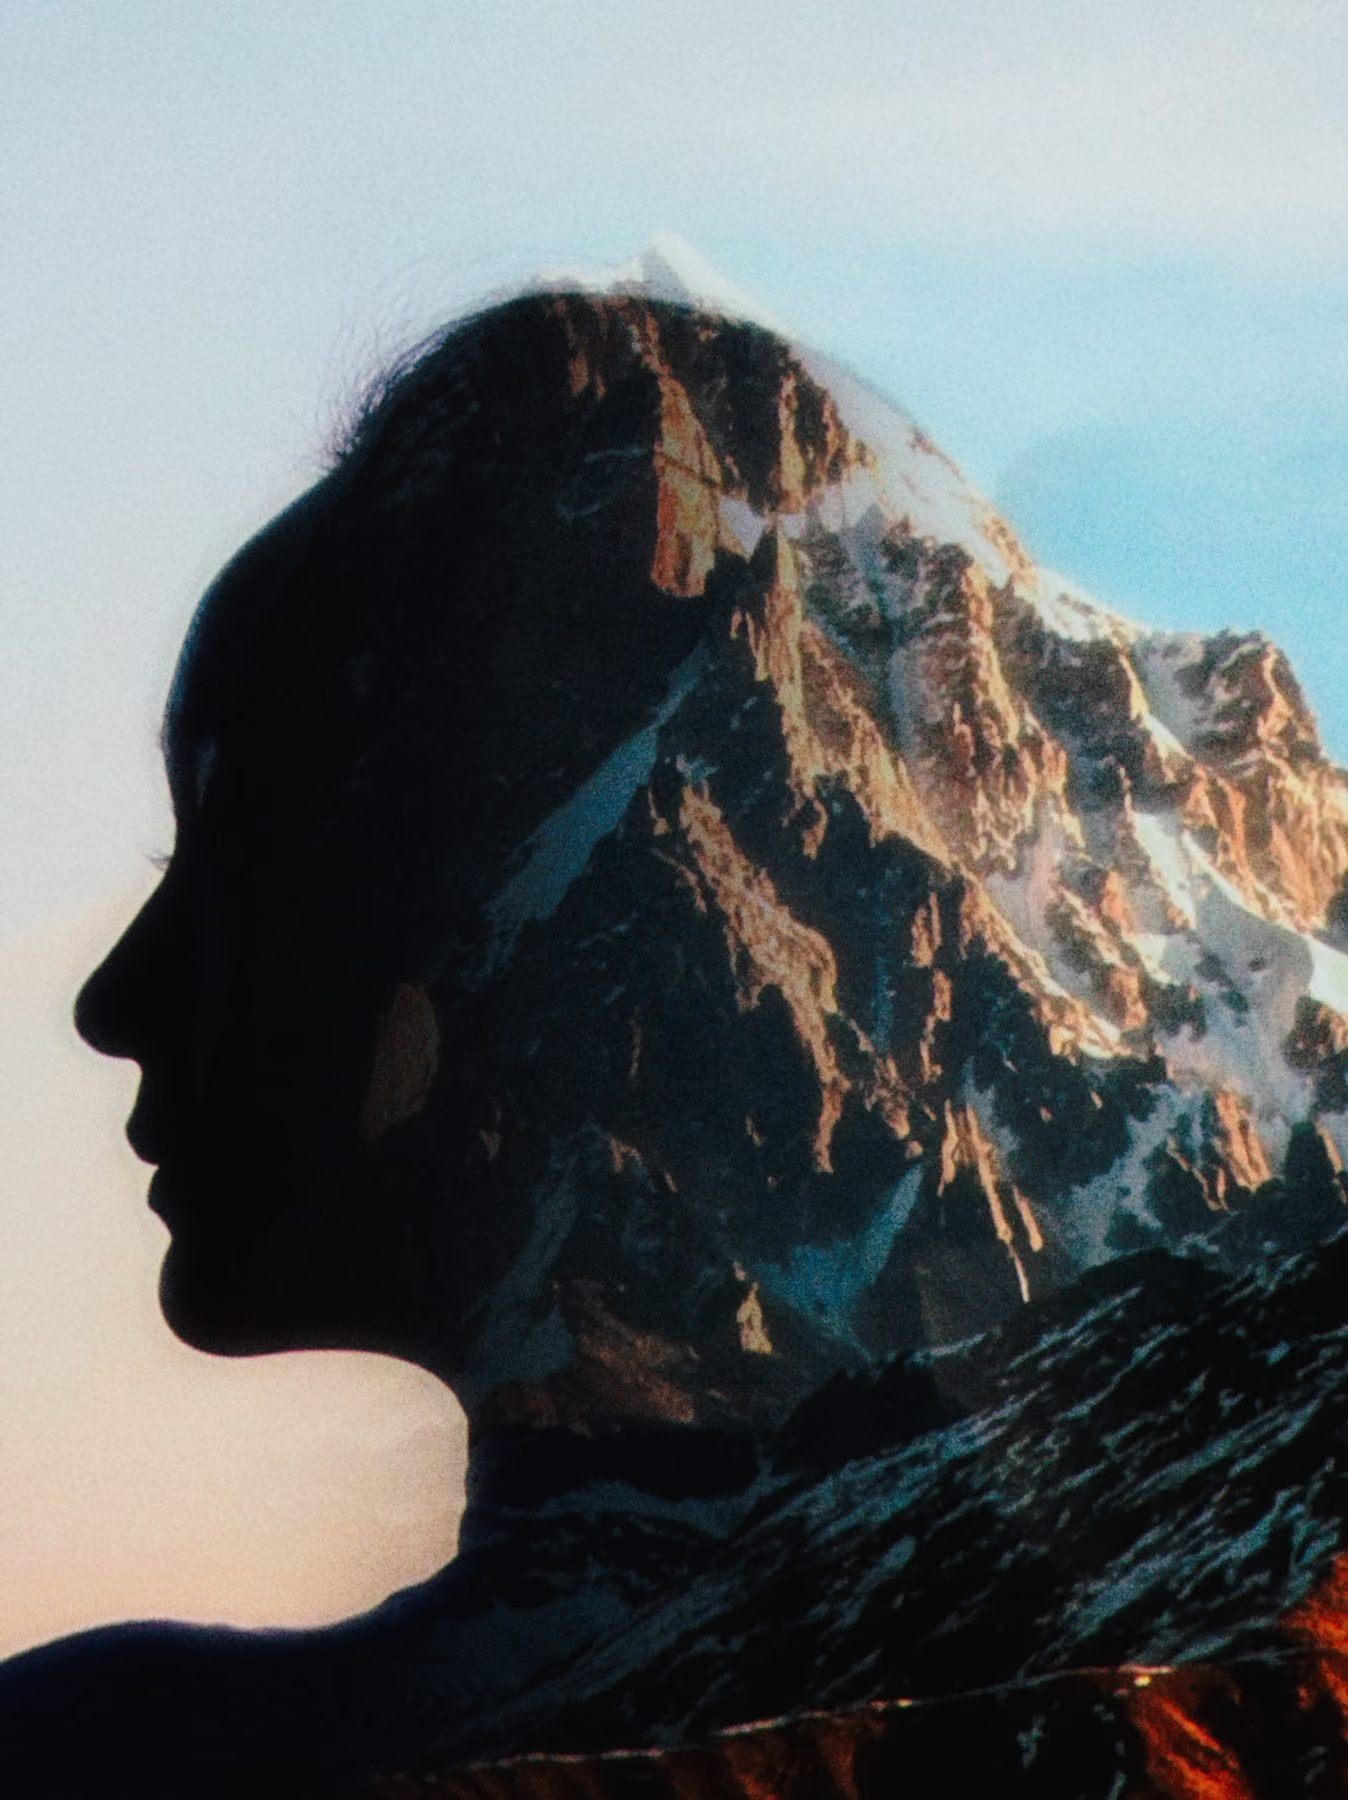
Blend two different subjects together using similar shapes or outlines.
Mode: Gradient
Photo A: Find a subject with a simple, recognisable shape and decide where it sits in the frame.
Photo B: Find another subject with a similar shape, then move your camera until the two roughly line up.
Faces, circles, windows, flowers, signs and architectural details are good places to start.
Layer texture and detail across otherwise simple subjects.
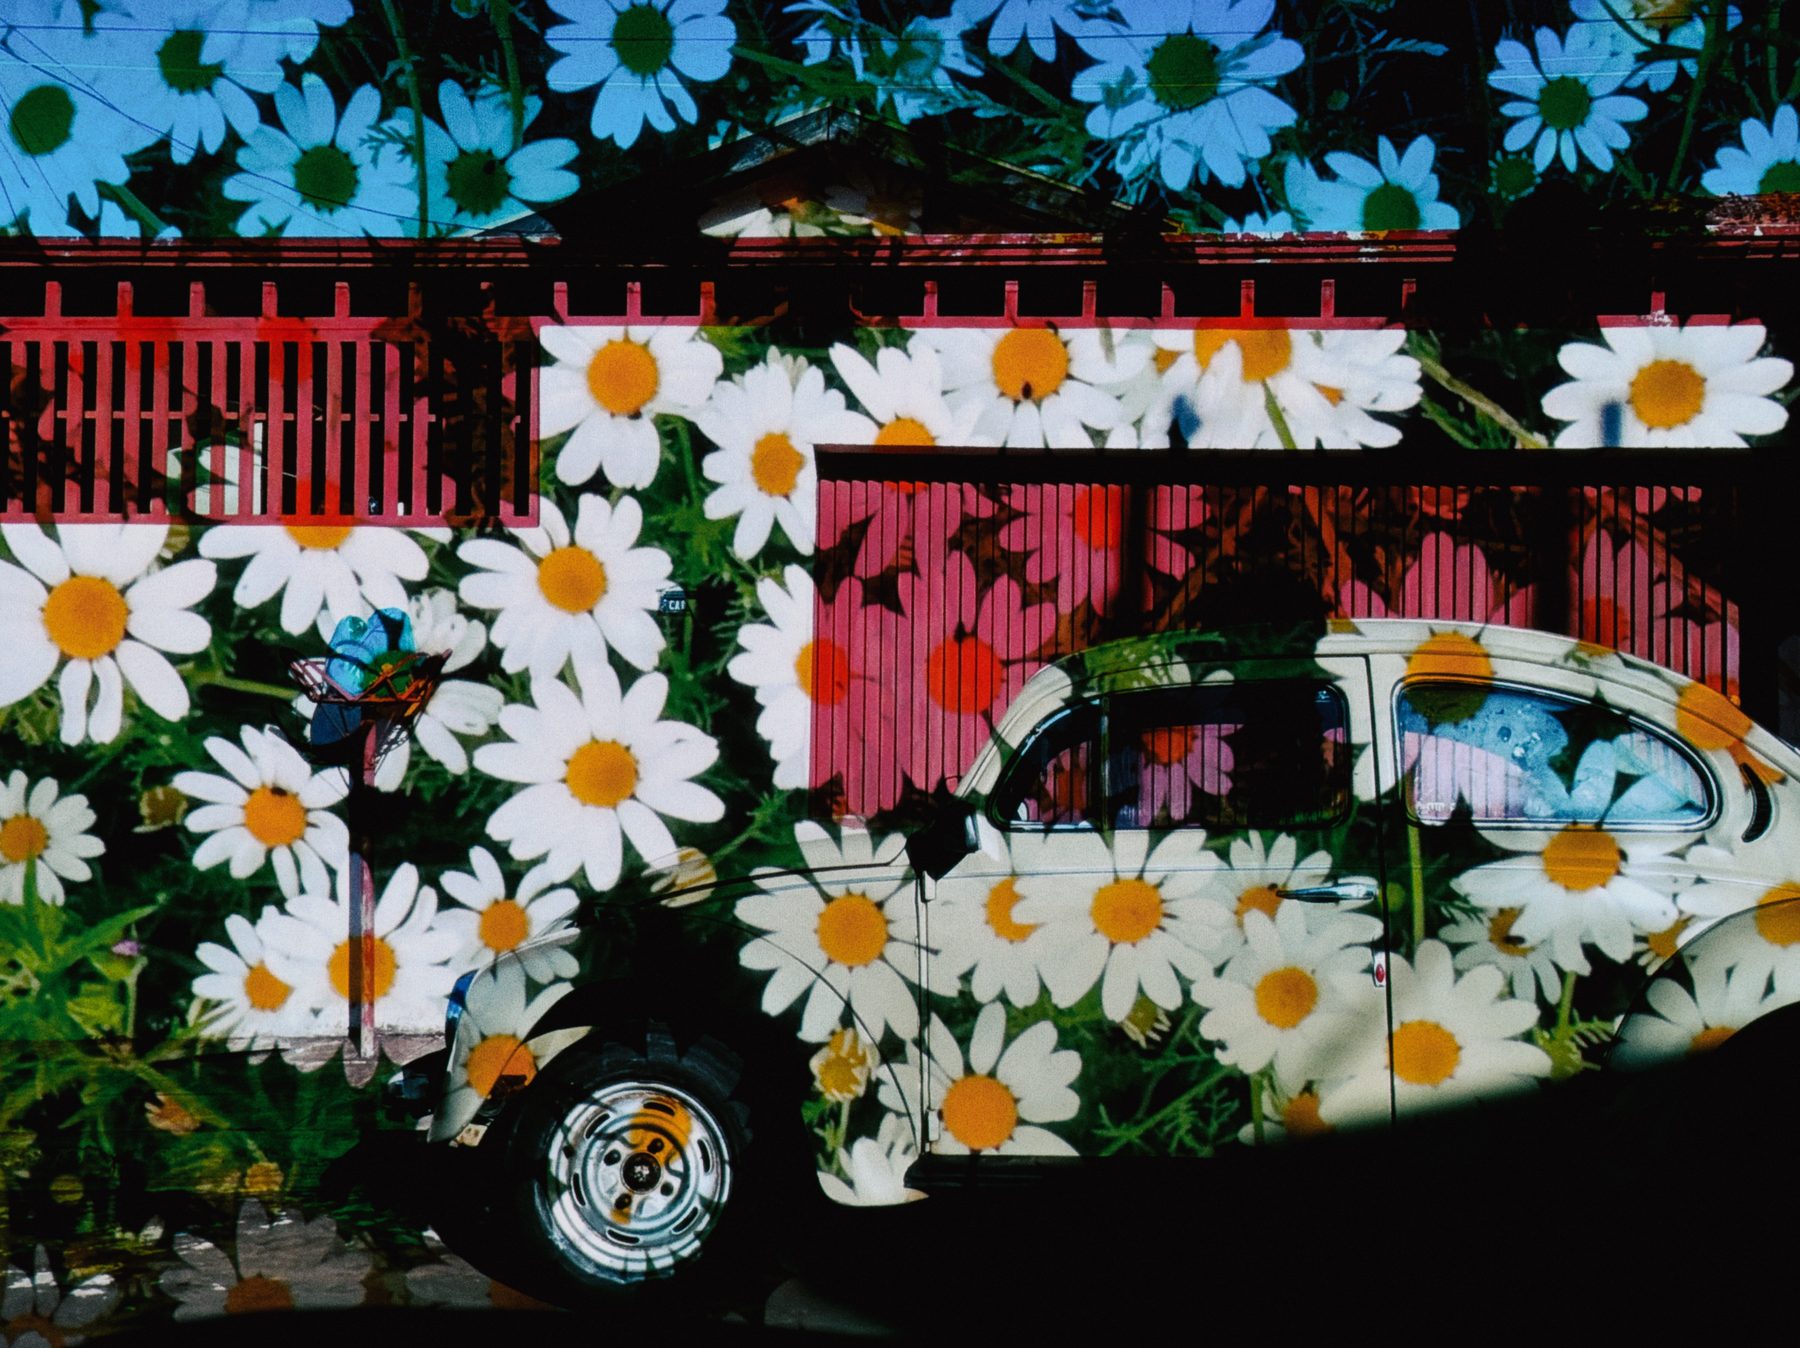
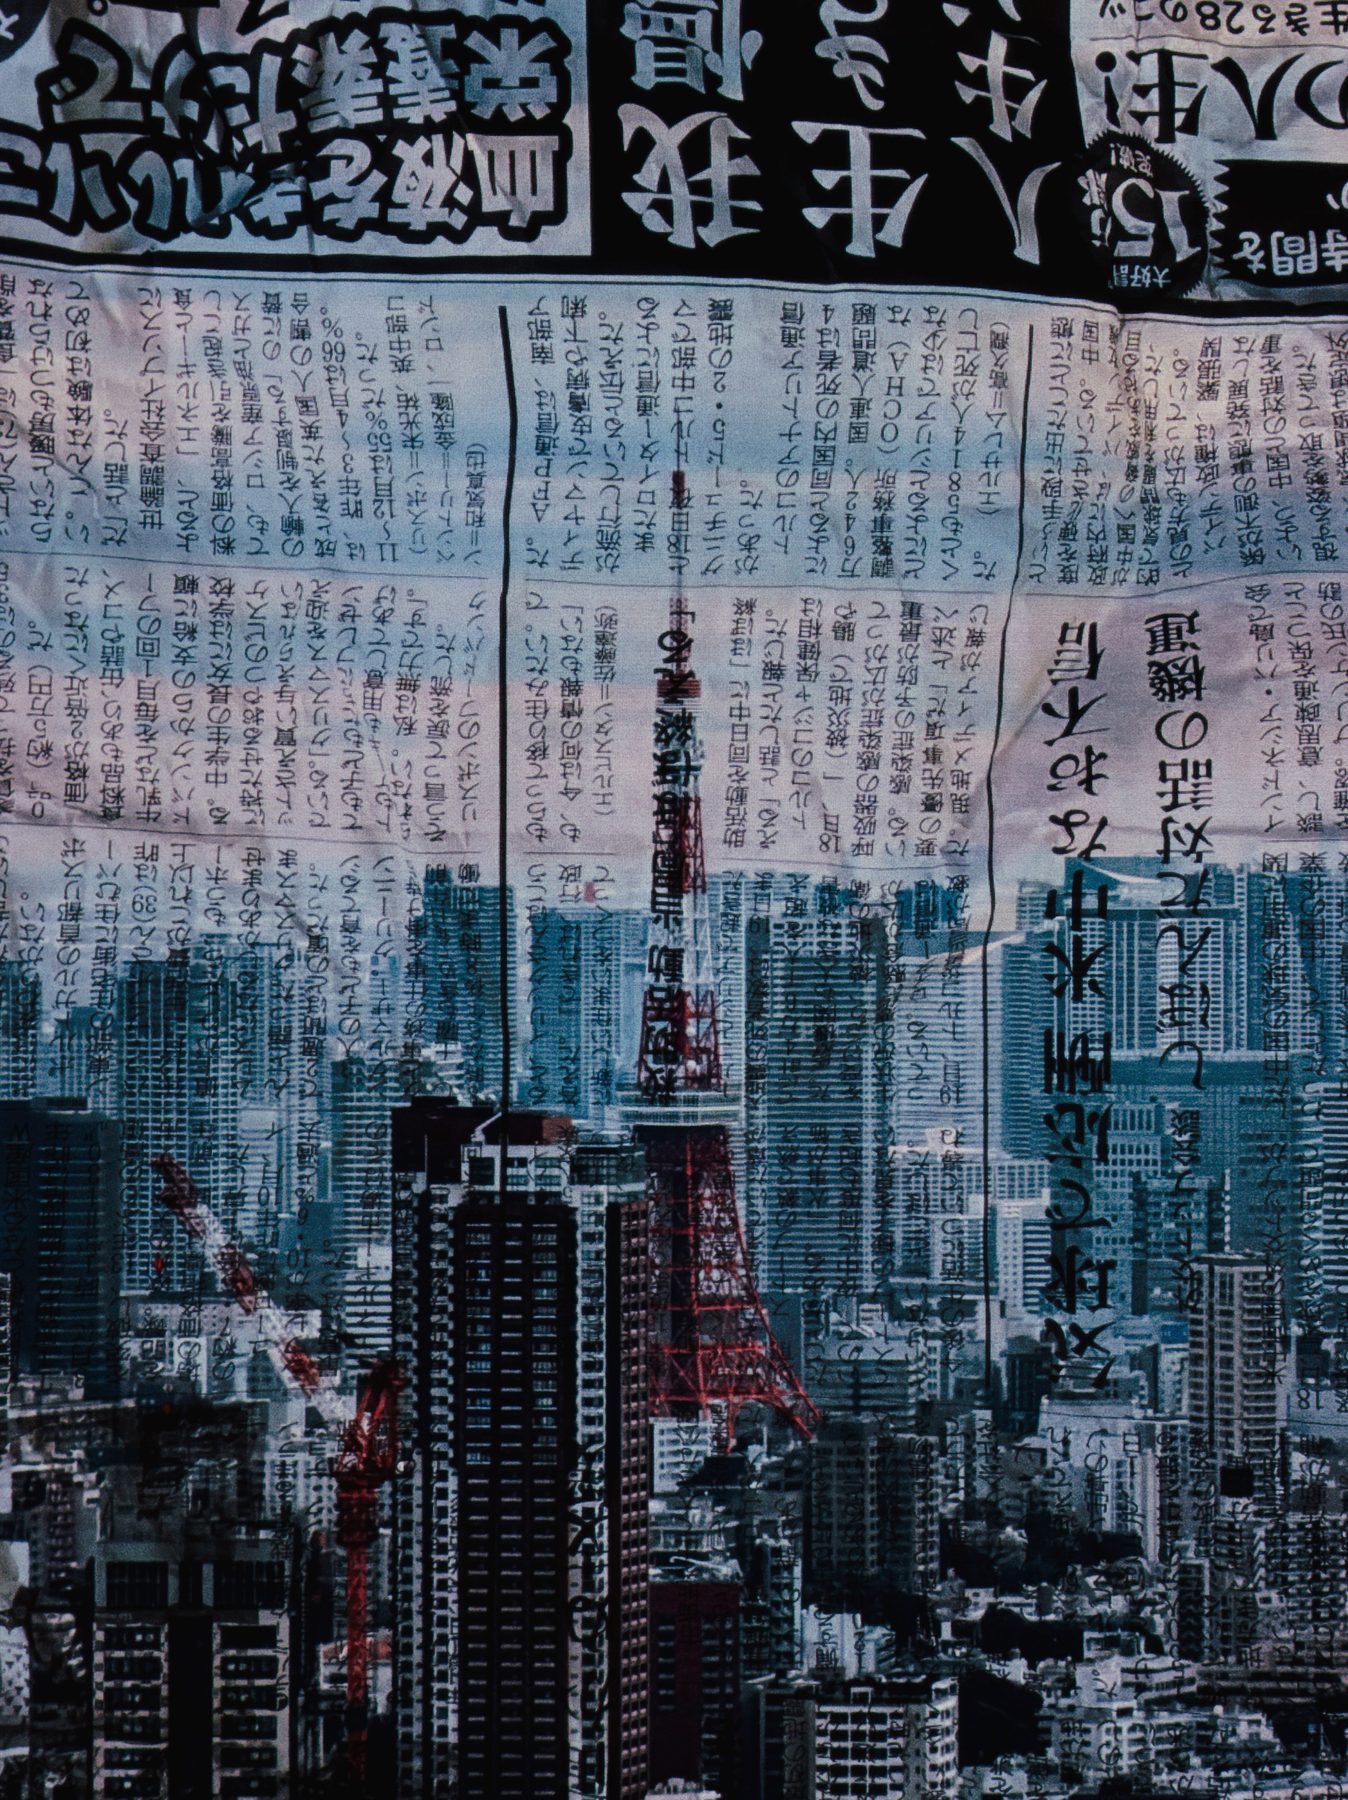
Mode: Darken, Multiply or Vivid
Photo A: Take your main photo.
Photo B: Fill the frame with an interesting texture or pattern. Try different blend modes to change how strongly it appears over the first image.
Look for leaves, stone, concrete, fabric, reflections, shadows or anything with lots of small-scale detail.
Add blocks of colour or soft gradients over an everyday scene.
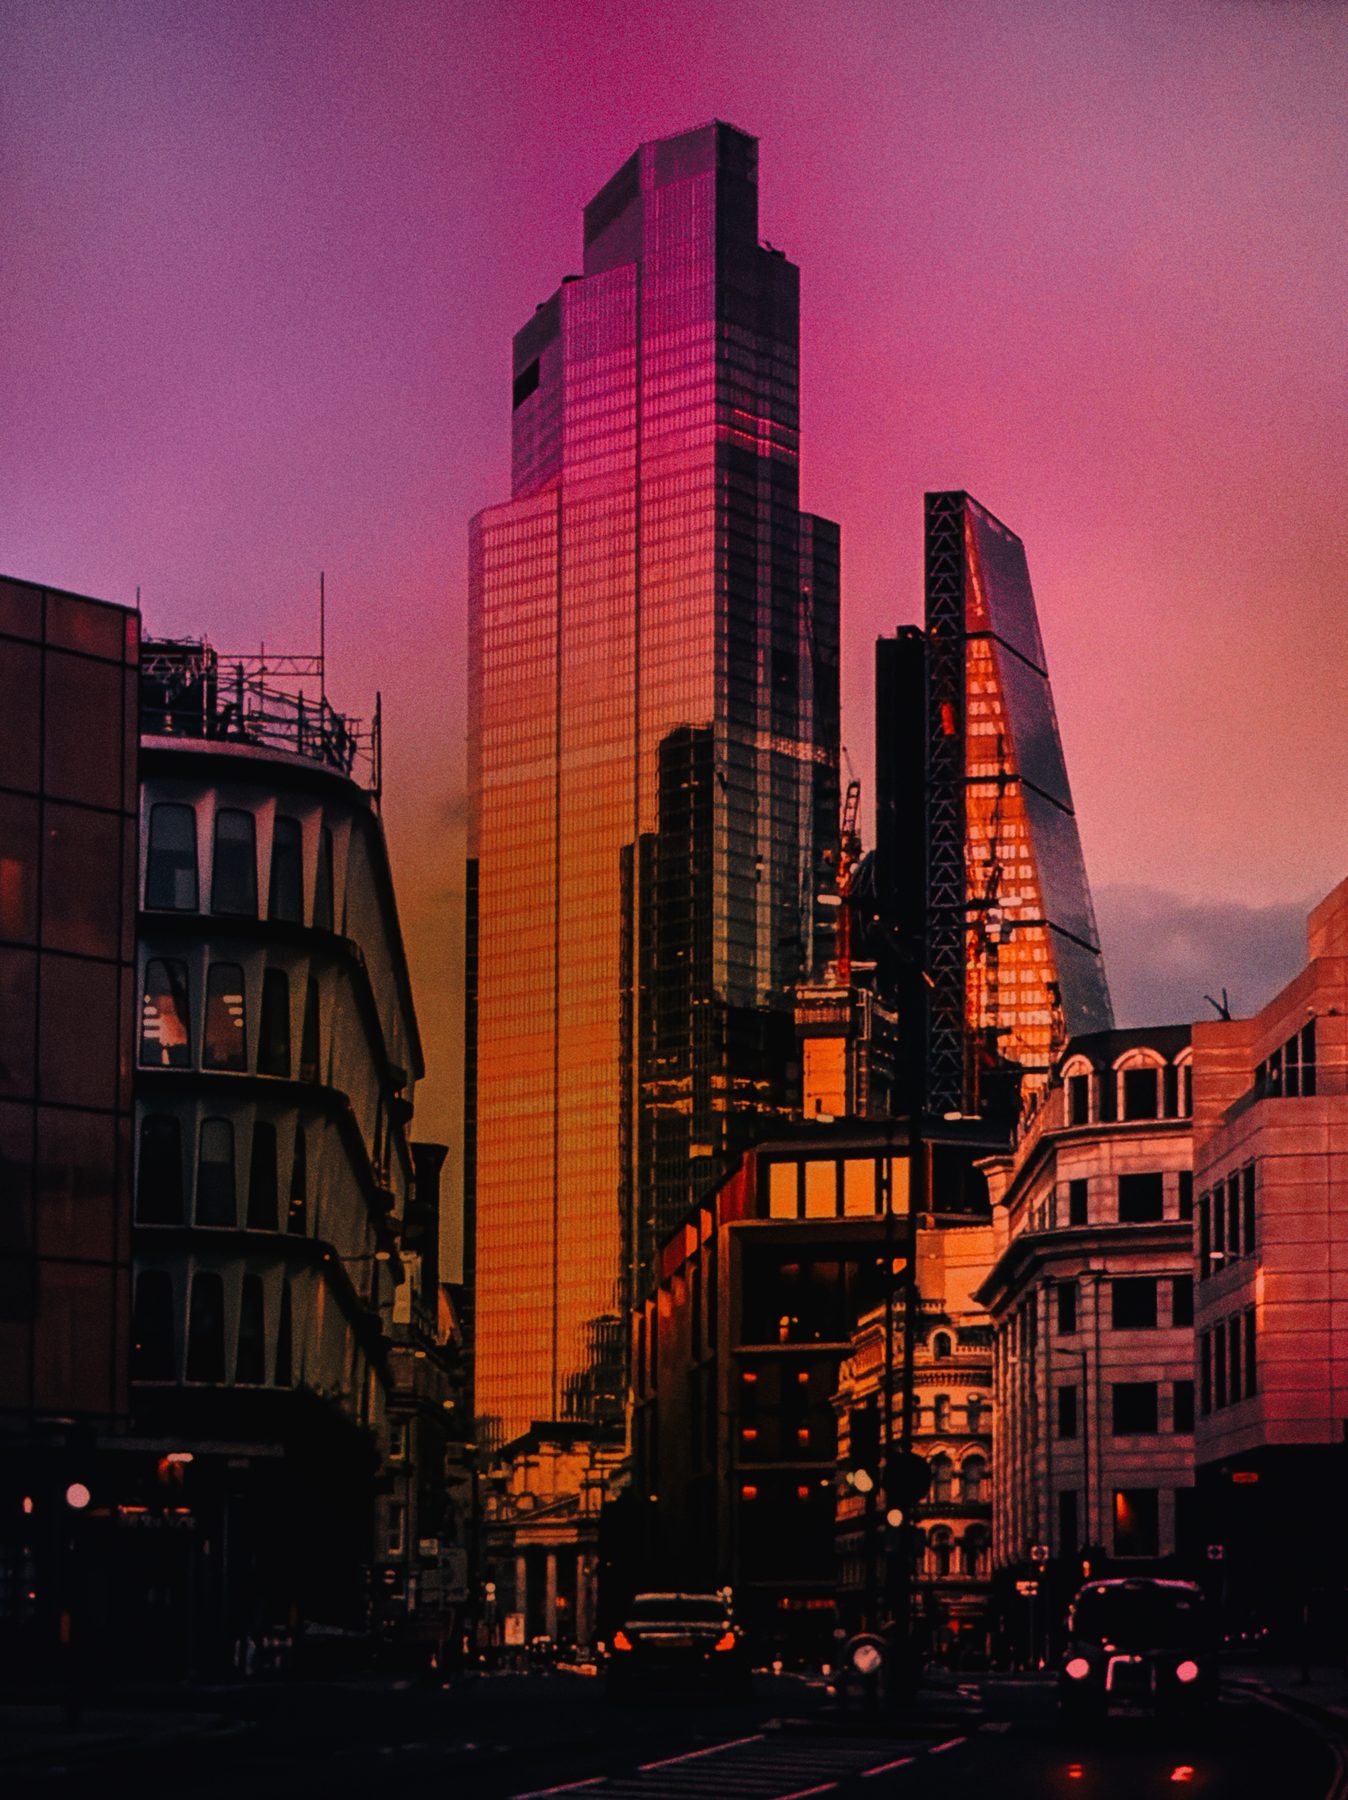
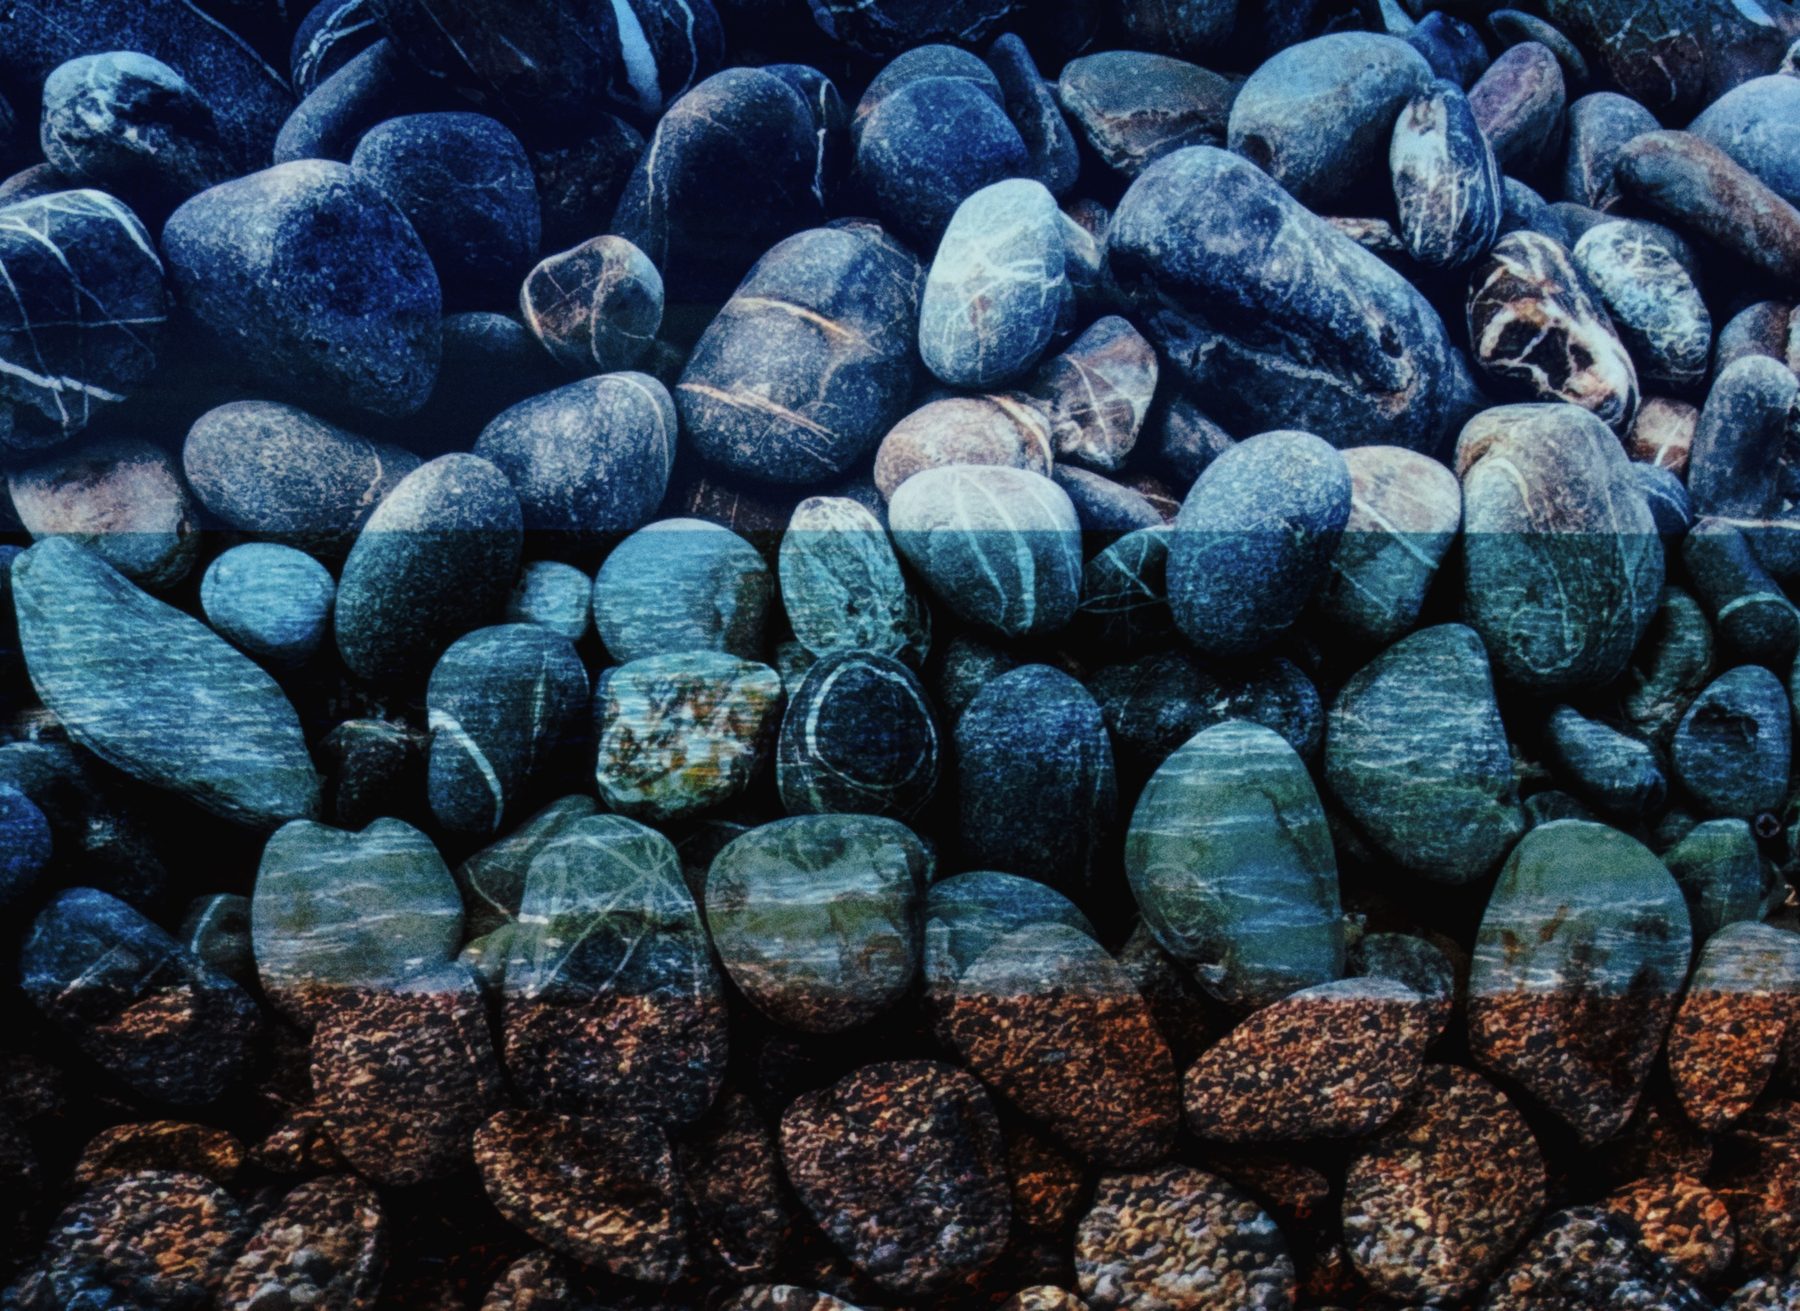
Mode: Vivid
Photo A: Take your main photo.
Photo B: Fill the frame with a strong colour. Look for painted walls, signs, lights, flowers, fabric or colourful objects, and move close enough that the colour fills most of the frame.
Slightly out-of-focus colours tend to blend more smoothly, while sharp edges create a more graphic effect.
© copyright mood.camera 2024